Introduction
Creating an online store in Nepal has never been easier. Saauzi Smart Solutions is a powerful Business Operating System (BOS) that allows anyone to build a fully functional online store without any coding skills. Whether you are a retailer, wholesaler, home-based seller, boutique owner, or service provider, Saauzi provides everything in one platform—product management, orders, categories, reviews, POS, inventory, themes, payments, blogs, marketing tools, and custom domains.
This step-by-step guide will walk you through the entire process so you can launch your online store quickly and professionally.
Step 1: Start Your Saauzi Account
-
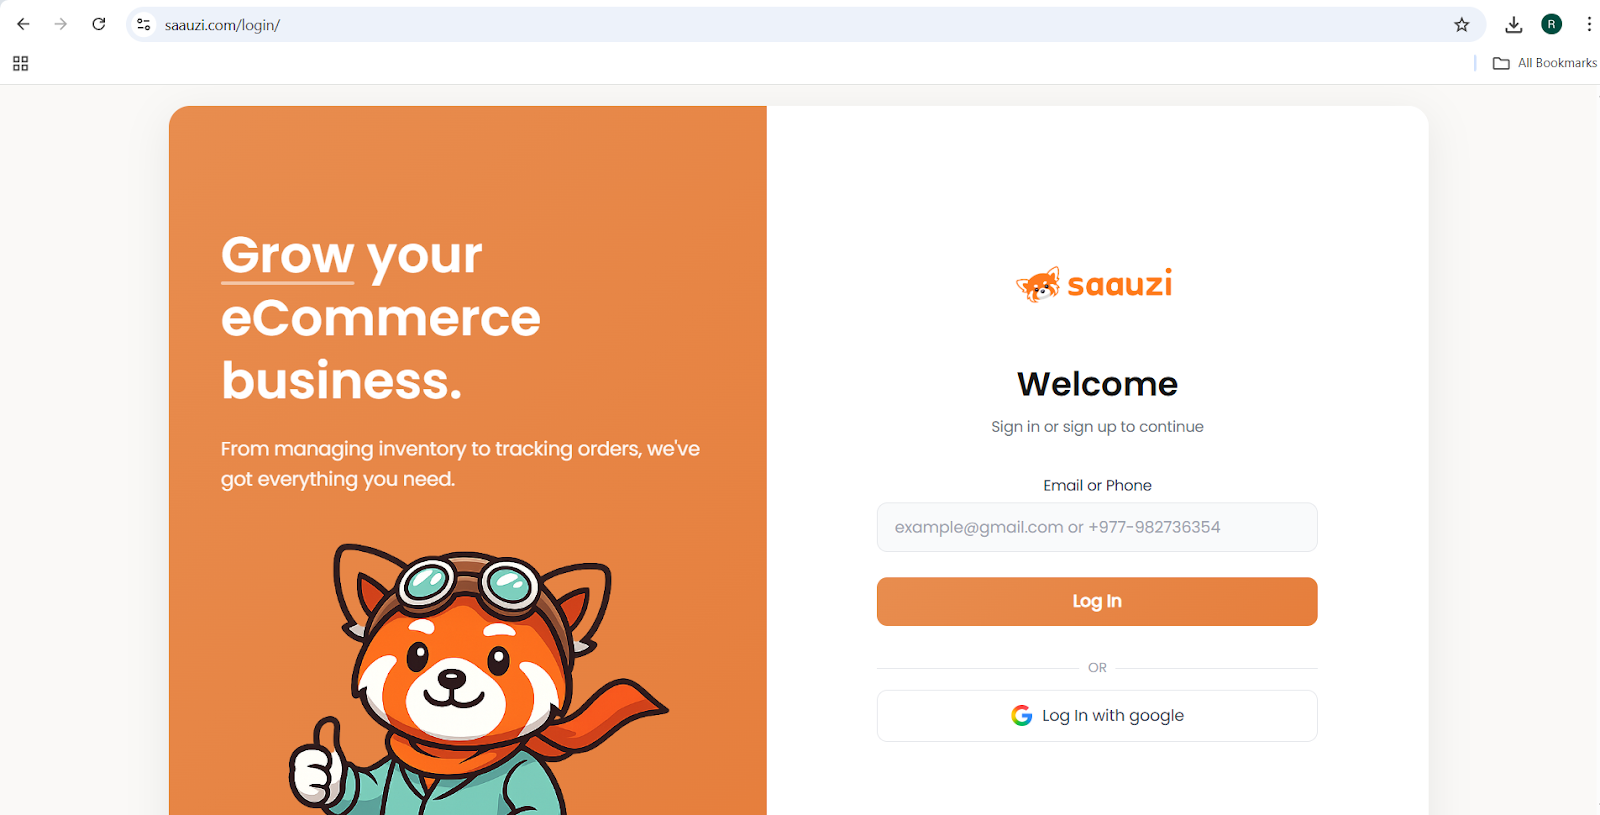
Open your browser and go to saauzi.com.
-
On desktop, click Start for Free at the top-right. On mobile, tap the Start for Free button.
-
Enter your email address and check your inbox for the OTP (One-Time Password).
-
Enter the OTP to verify your account.
-
Provide your store name and phone number. Saauzi will now automatically create your online store and redirect you to the Launchpad Dashboard.
Tips:
-
Use an email you can access immediately.
-
Check spam/junk folders if OTP does not appear.
-
Ensure stable internet while waiting for OTP.
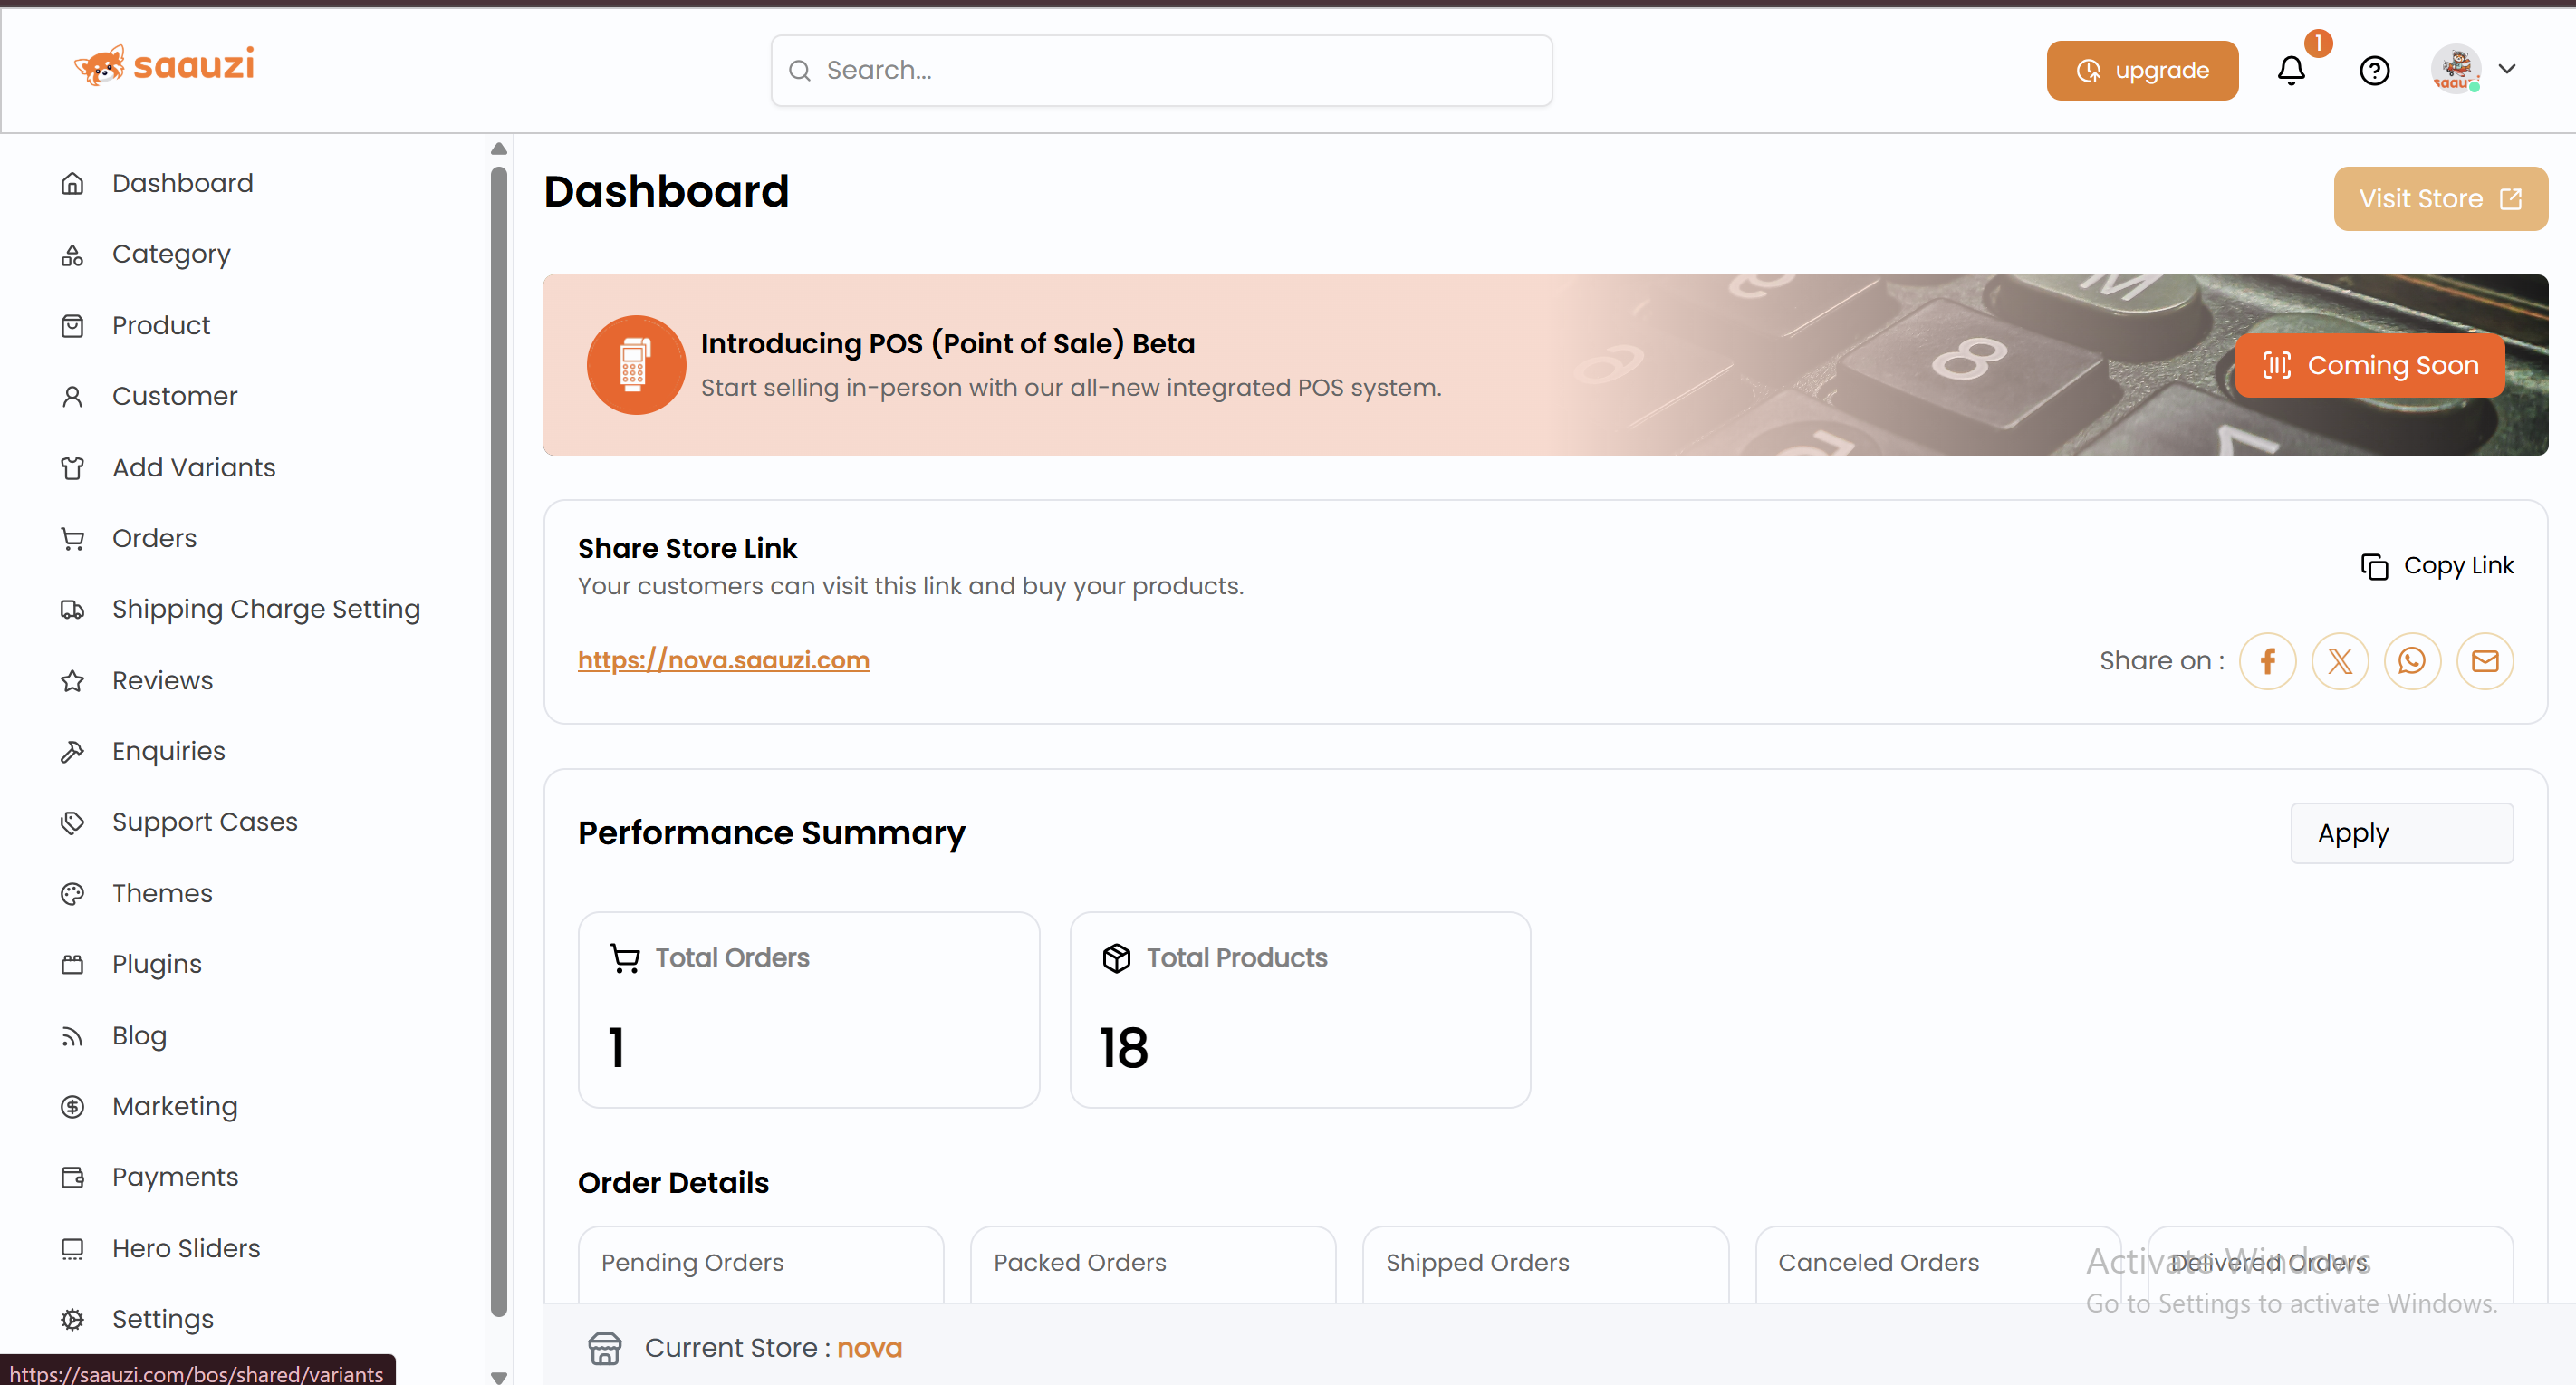
Step 2: Understand the Launchpad Dashboard
The Launchpad Dashboard is your store’s control center. Here you can:
- View your store link to open the customer-facing site.
- Check key statistics: total orders, products, featured items, pending, packed, shipped, and delivered orders.
- Switch to the POS dashboard for in-person sales and inventory management.
Every product you add will appear automatically on your storefront.
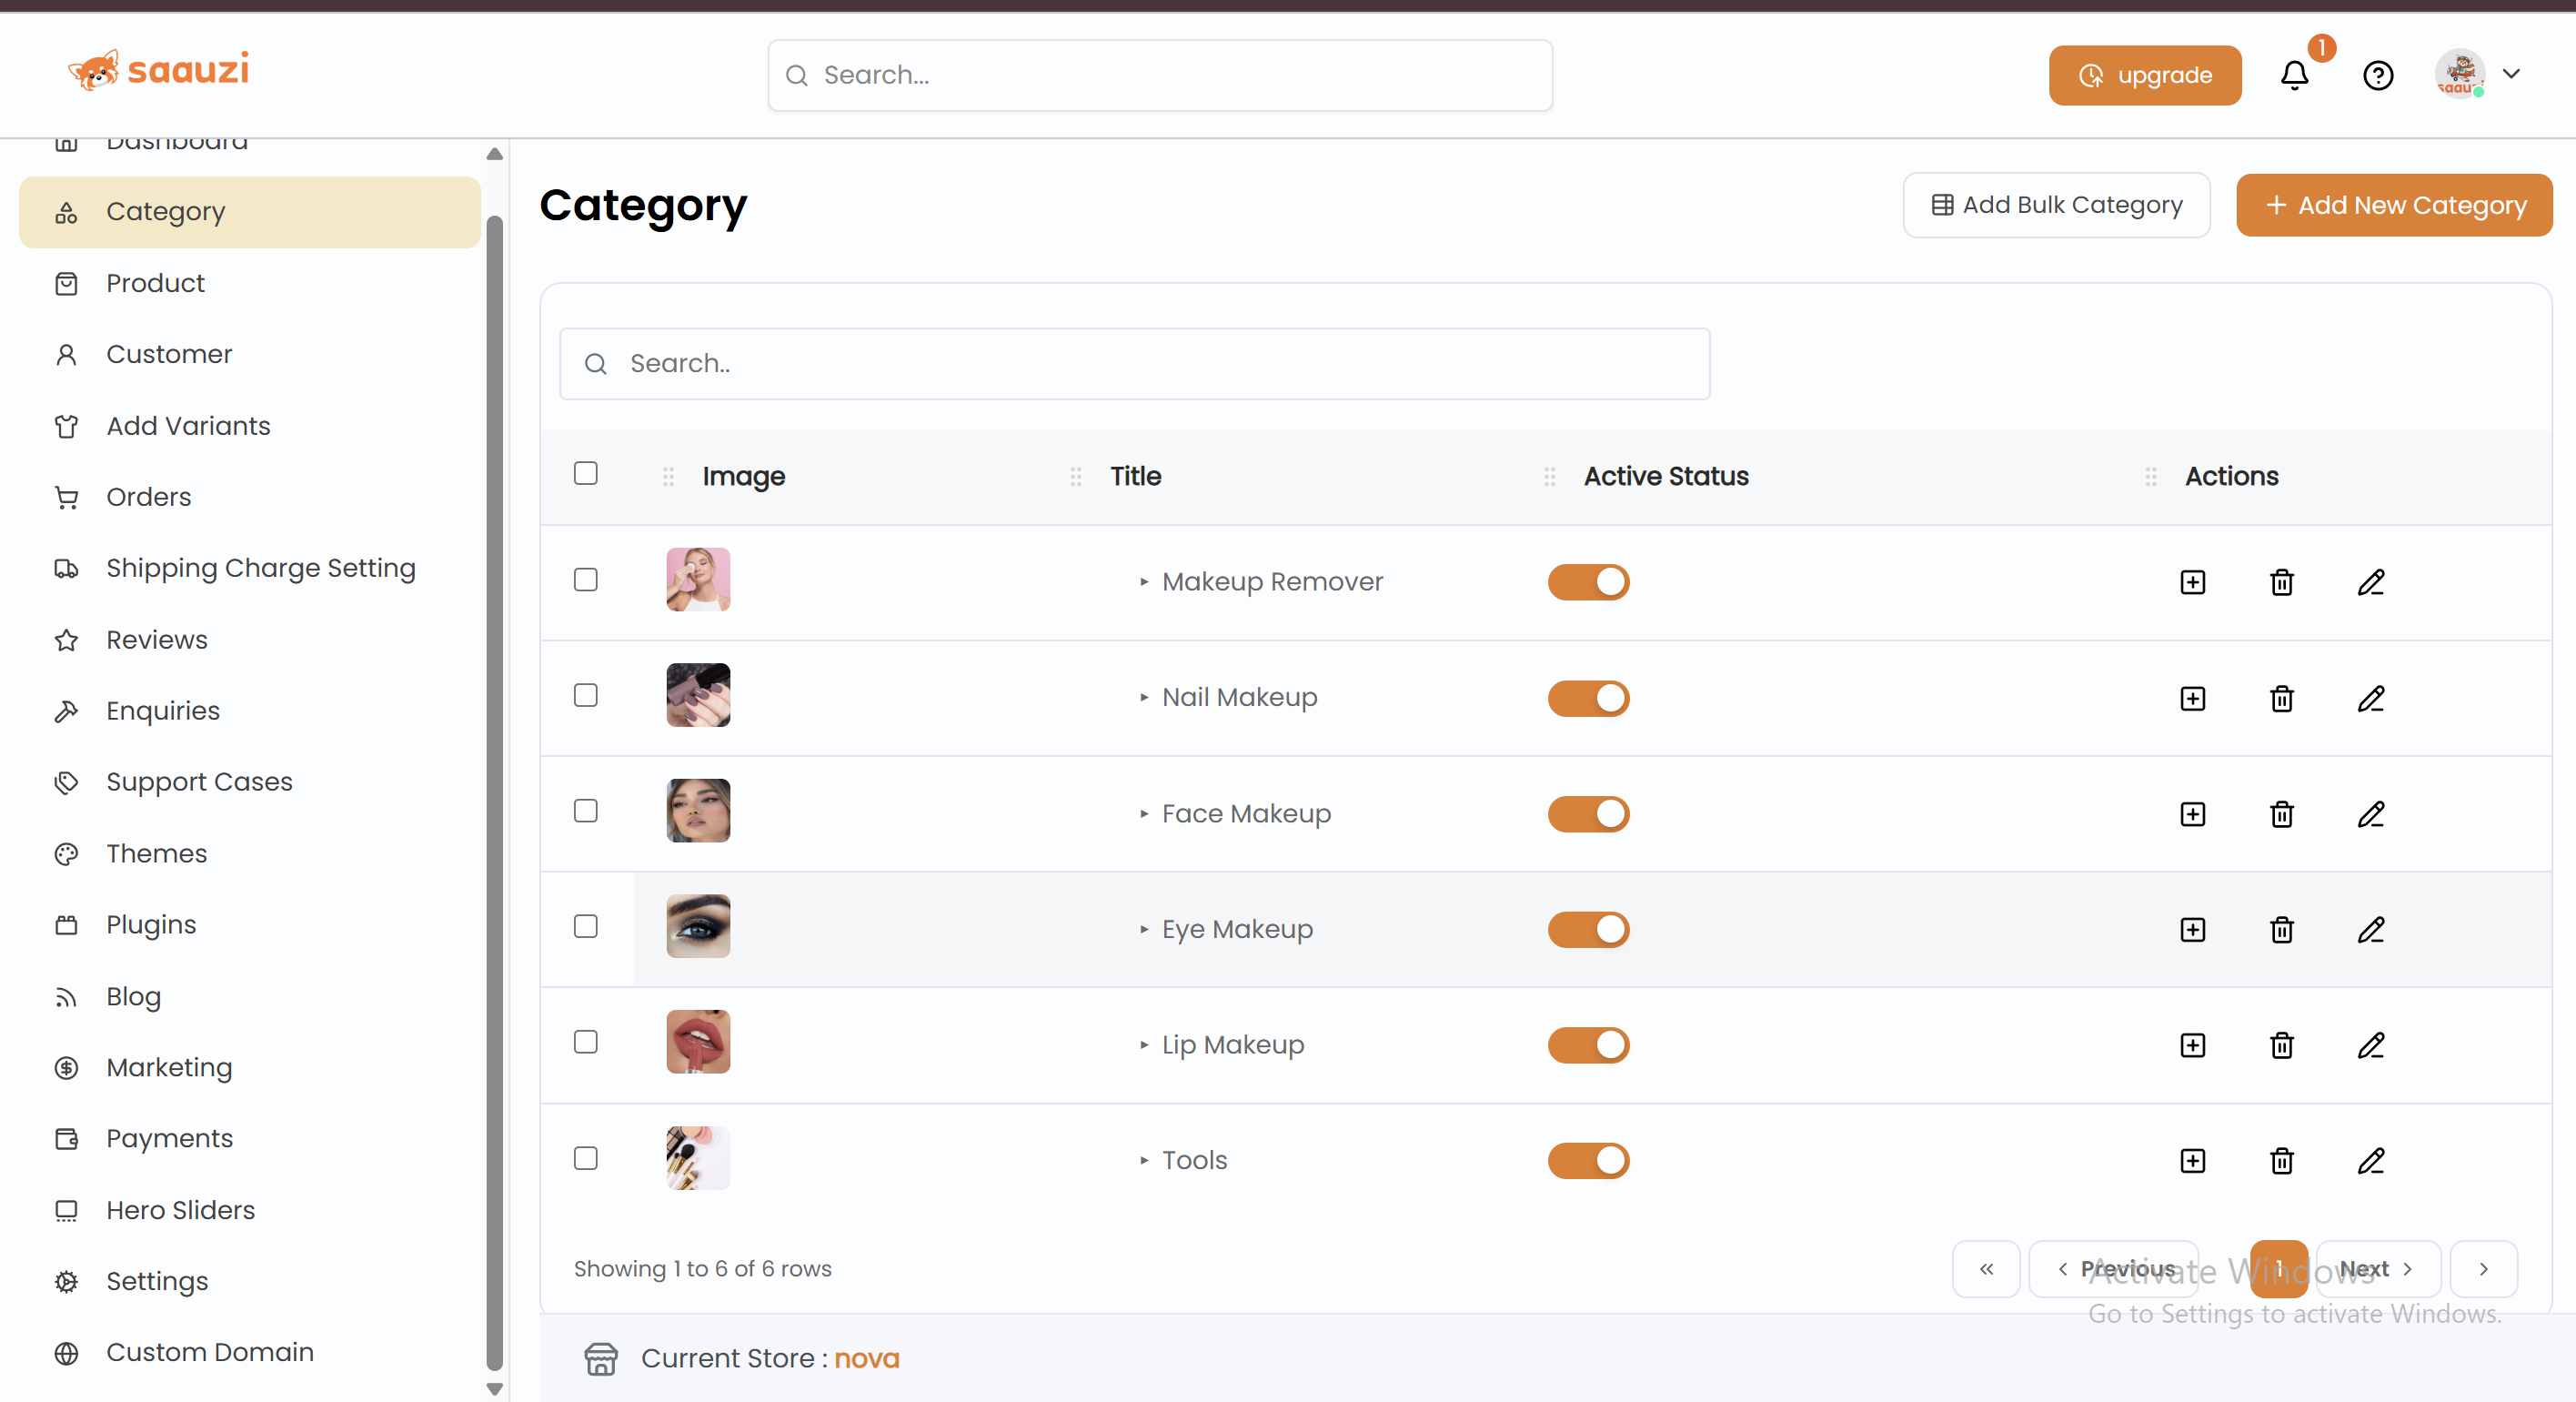
Step 3: Create Product Categories
- Go to Categories in the left-hand menu.
- Click Add Category and enter the category name and image.
- Toggle Active to show/hide the category on your store.
- Use Edit to update and Delete to remove categories.
- Add Subcategories under categories for a structured hierarchy.
Bulk Upload:
- Upload from Excel (.xlsx) or manually via web.
- Export existing categories for backup or editing.

Step 4: Add Products
- Navigate to Products in the menu and click Add Product.
- Fill in product name, category, description, and labels (On Sale, New Arrival).
- Select product type:
- Simple Product: Single variant, enter price, stock, discount.
- Variable Product: Multiple sizes/colors, each with its SKU.
- Enter shipping dimensions for accurate logistic charges.
- Add SEO meta description to improve Google ranking.
- Click Add Product to make it live.

Step 5: Manage Product Variants
- Go to Add Variants to create custom colors and sizes.
- Assign each variant to products for easier stock tracking.
- Useful for clothing, shoes, accessories, or multi-option products.

Step 6: Handle Orders
- Orders appear in the Orders section.
- Update order status: Pending → Packed → Shipped → Delivered.
- Generate invoices and shipping labels.
- Create custom orders for offline customers using the cart icon.
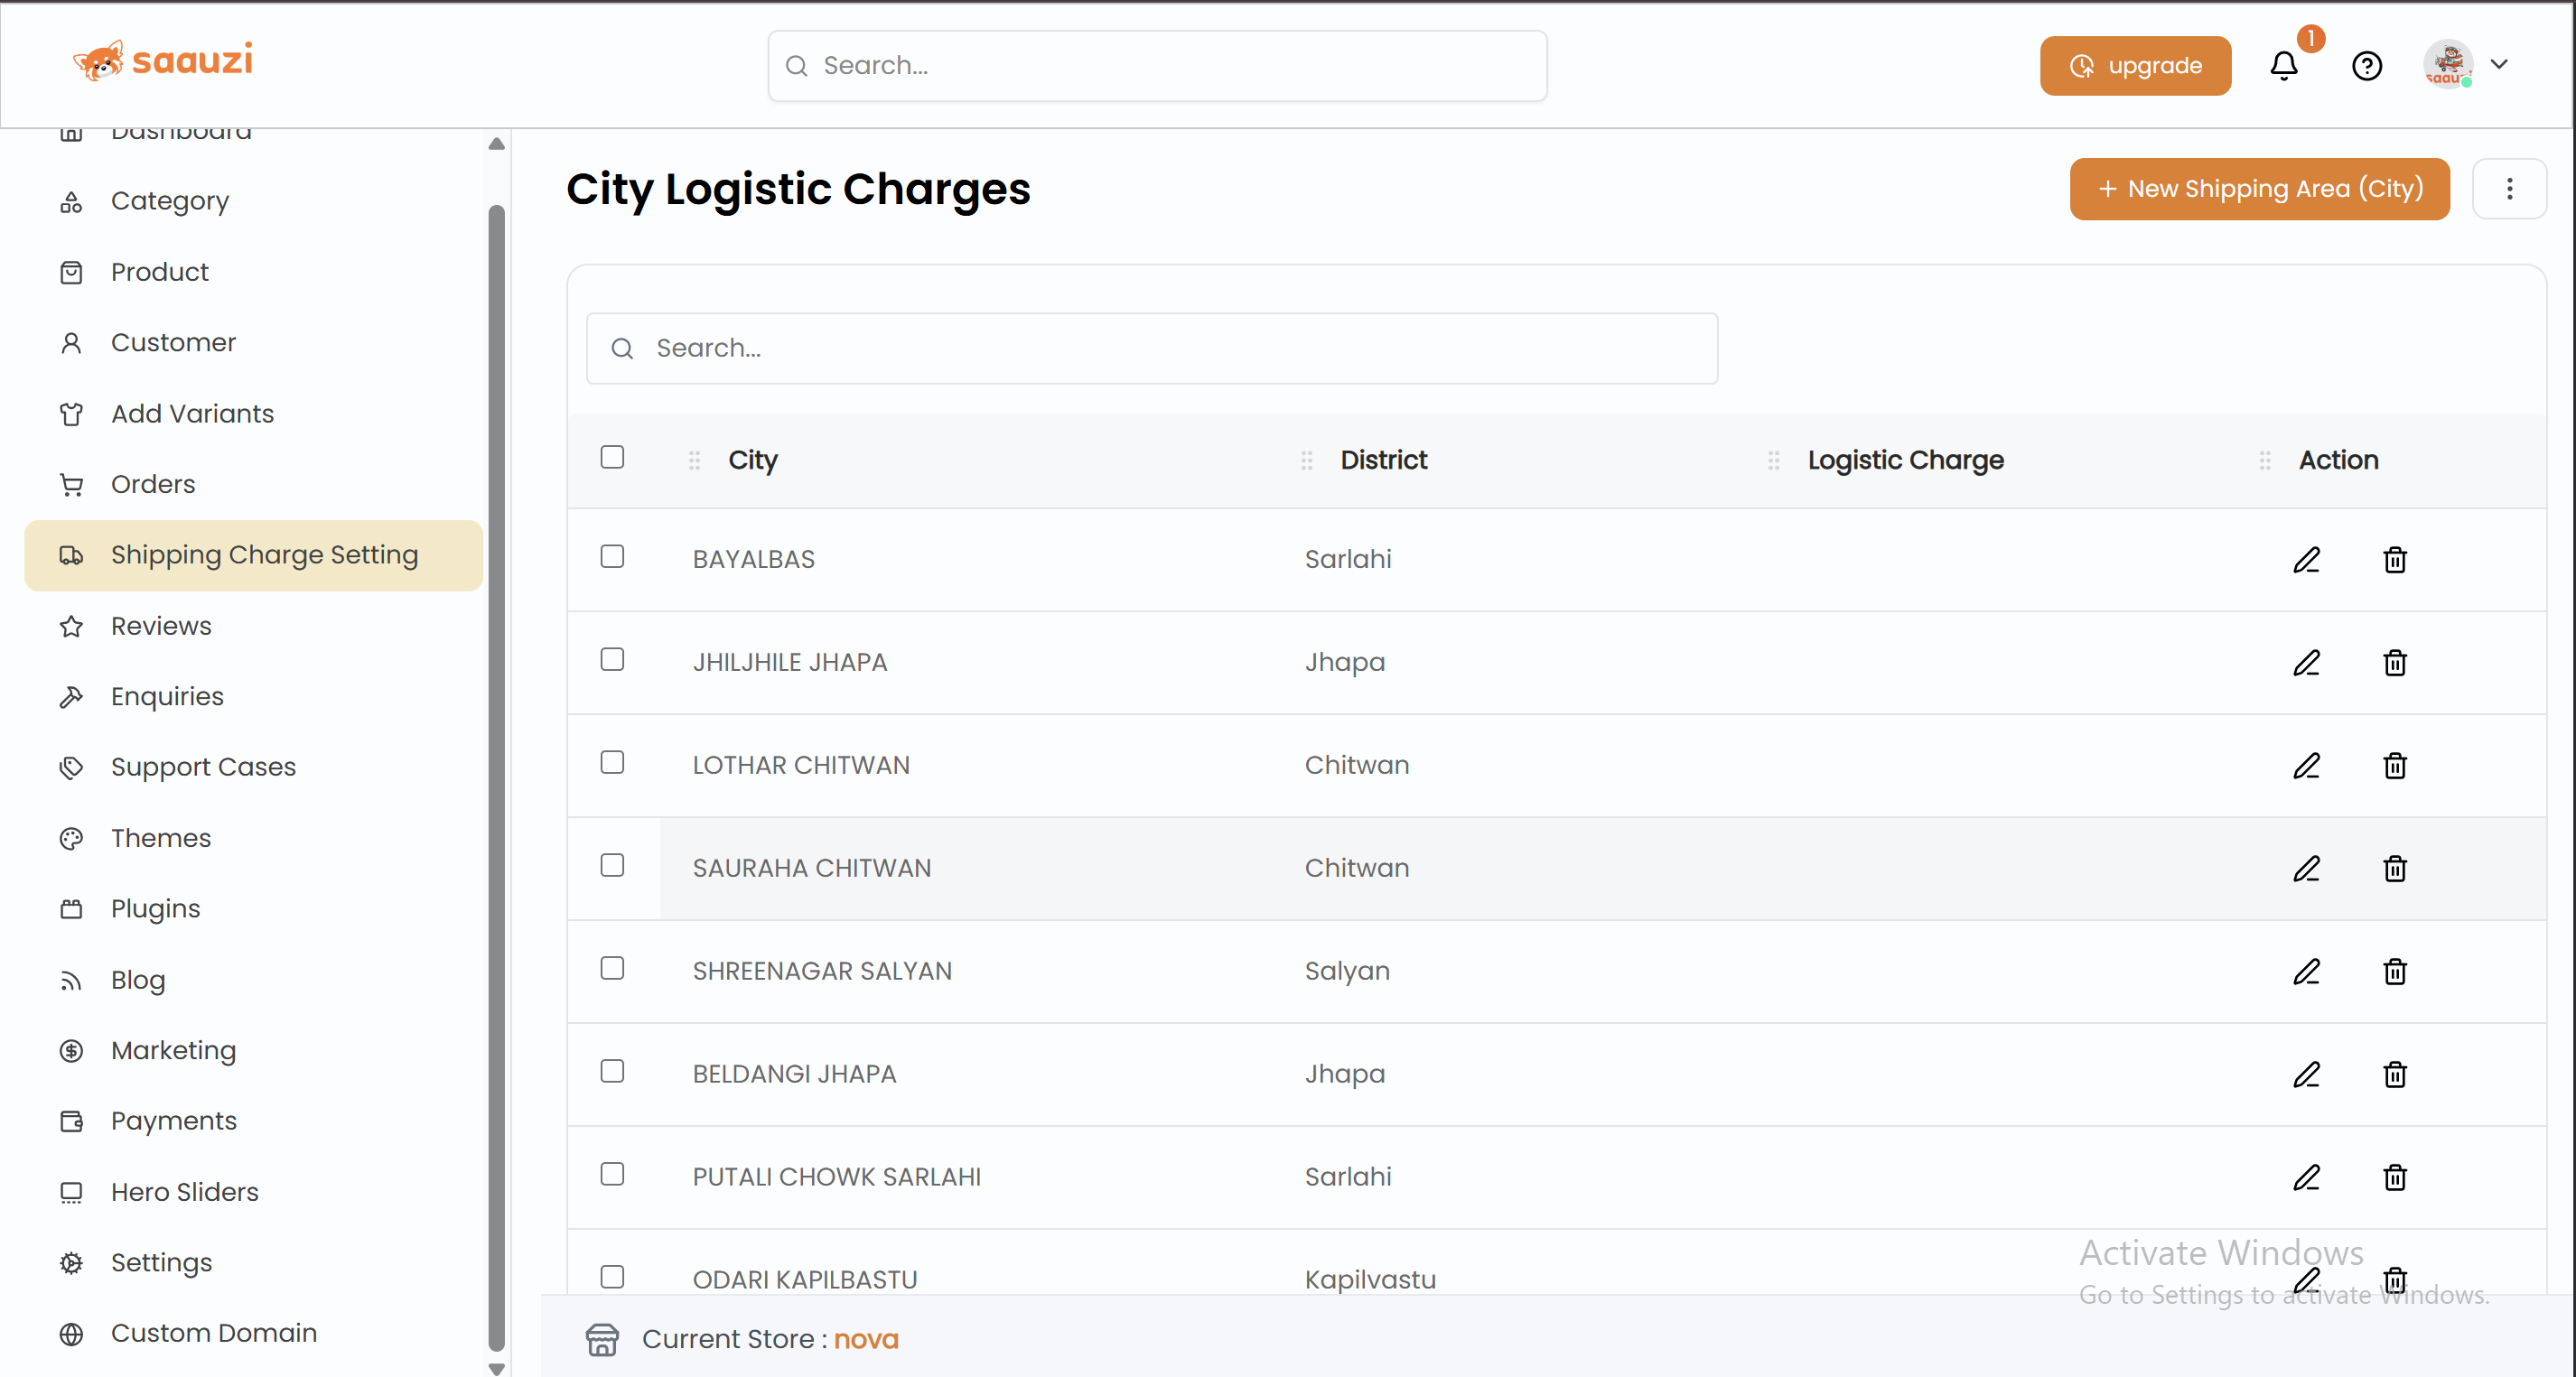
Step 7: Set Up Shipping Charges
- Navigate to Shipping Charge Settings.
- Add City, District, and Charge manually or use Bulk Upload.
- Delete or update charges anytime.

Step 8: Manage Customers
- Add customers individually or via bulk upload (Excel or web).
- Place custom orders on behalf of customers using the cart icon.
- Enter product, SKU, quantity, discounts, and payment method.
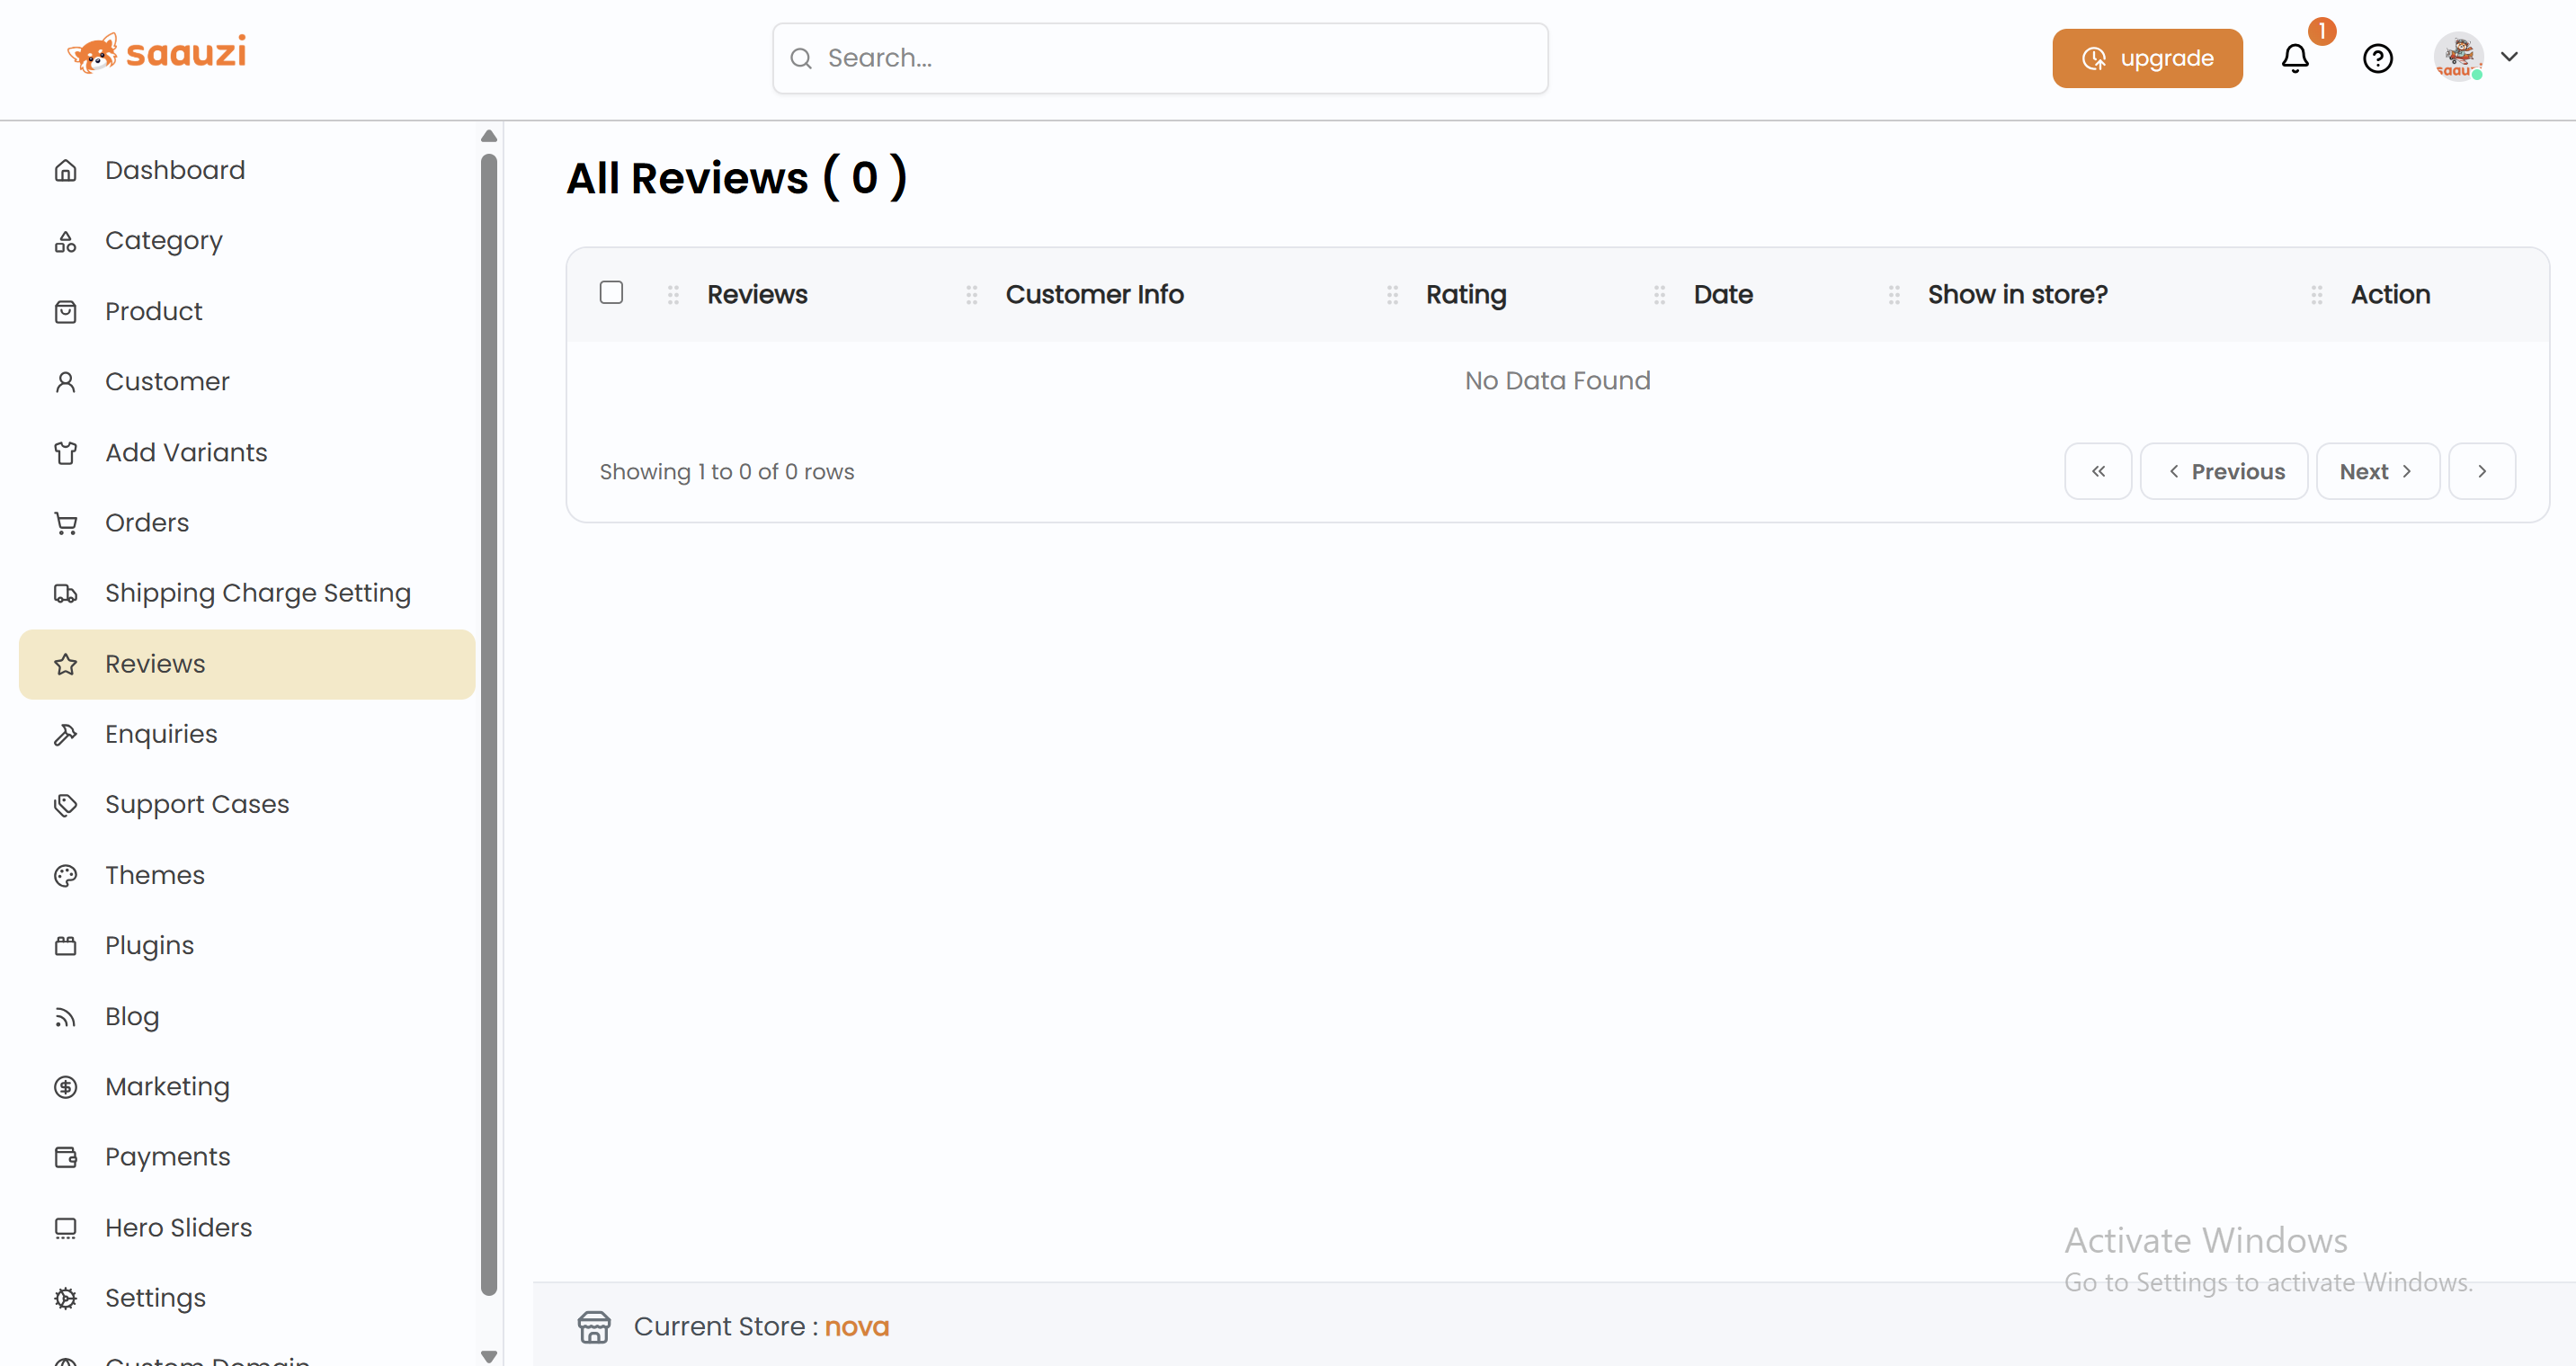
Step 9: Customer Reviews
- Access Reviews from the Launchpad.
- Toggle Show in Store to display reviews.
- Click View Related Order to verify purchase.
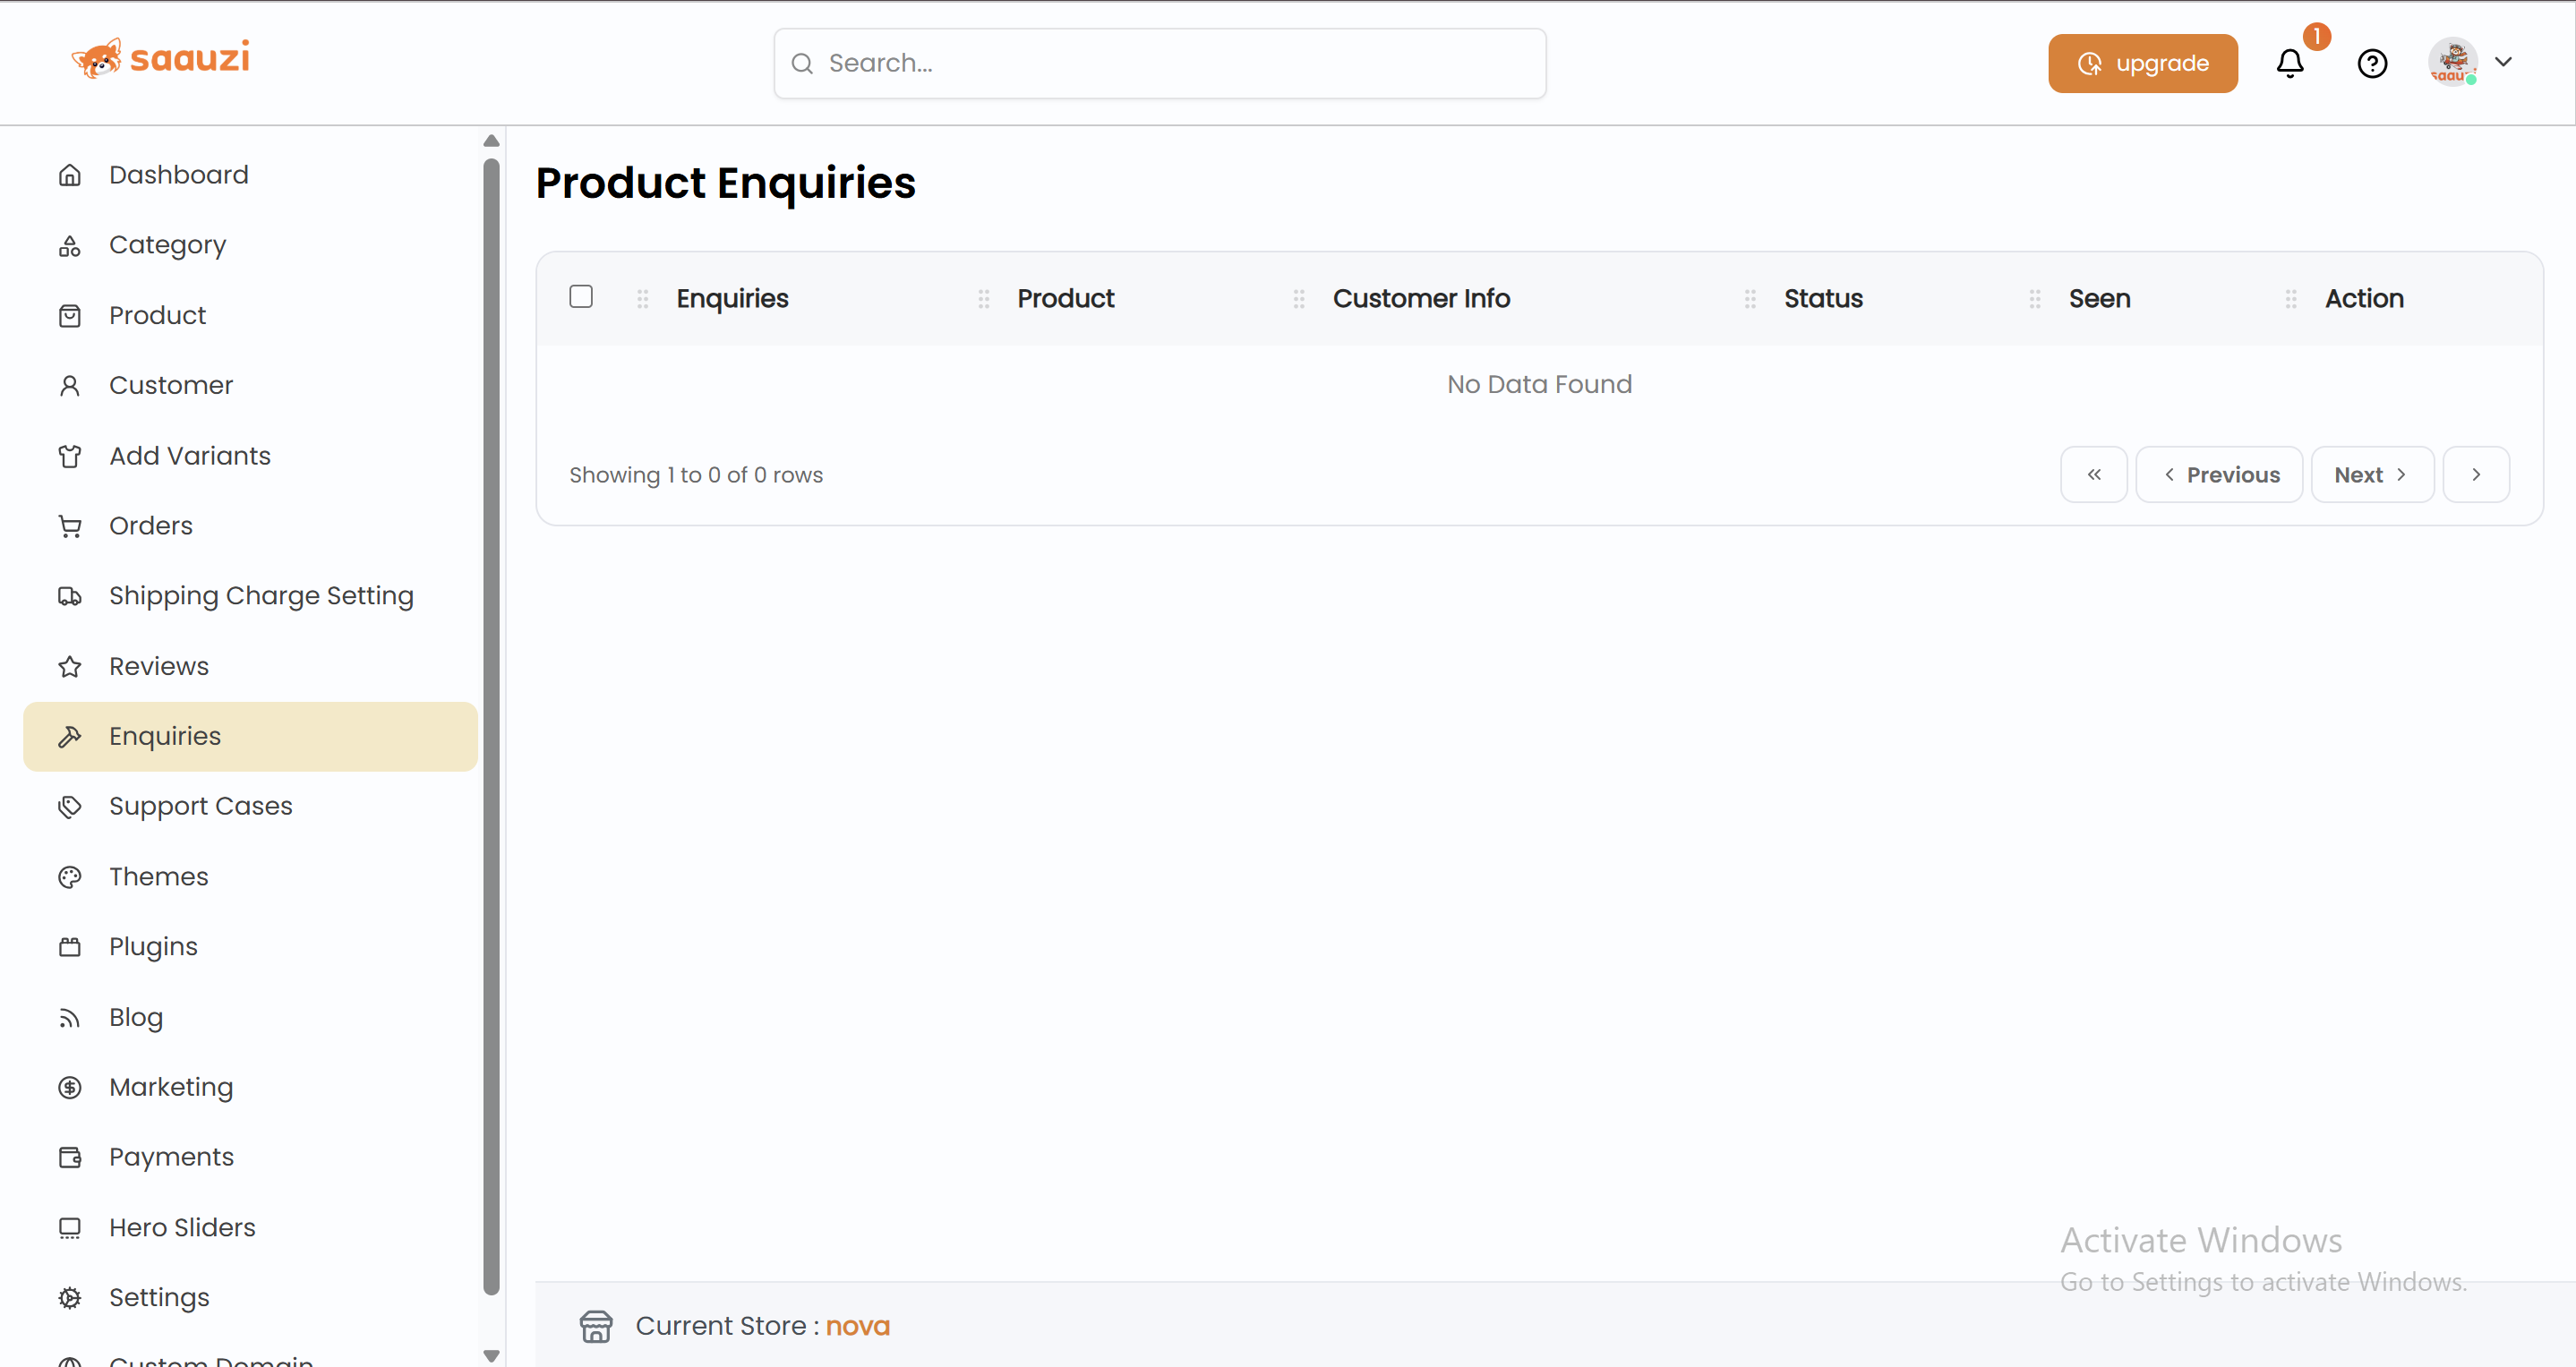
Step 10: Product Enquiries
- All customer questions appear under Enquiry.
- Reply directly from the Launchpad, and responses show on the product page.
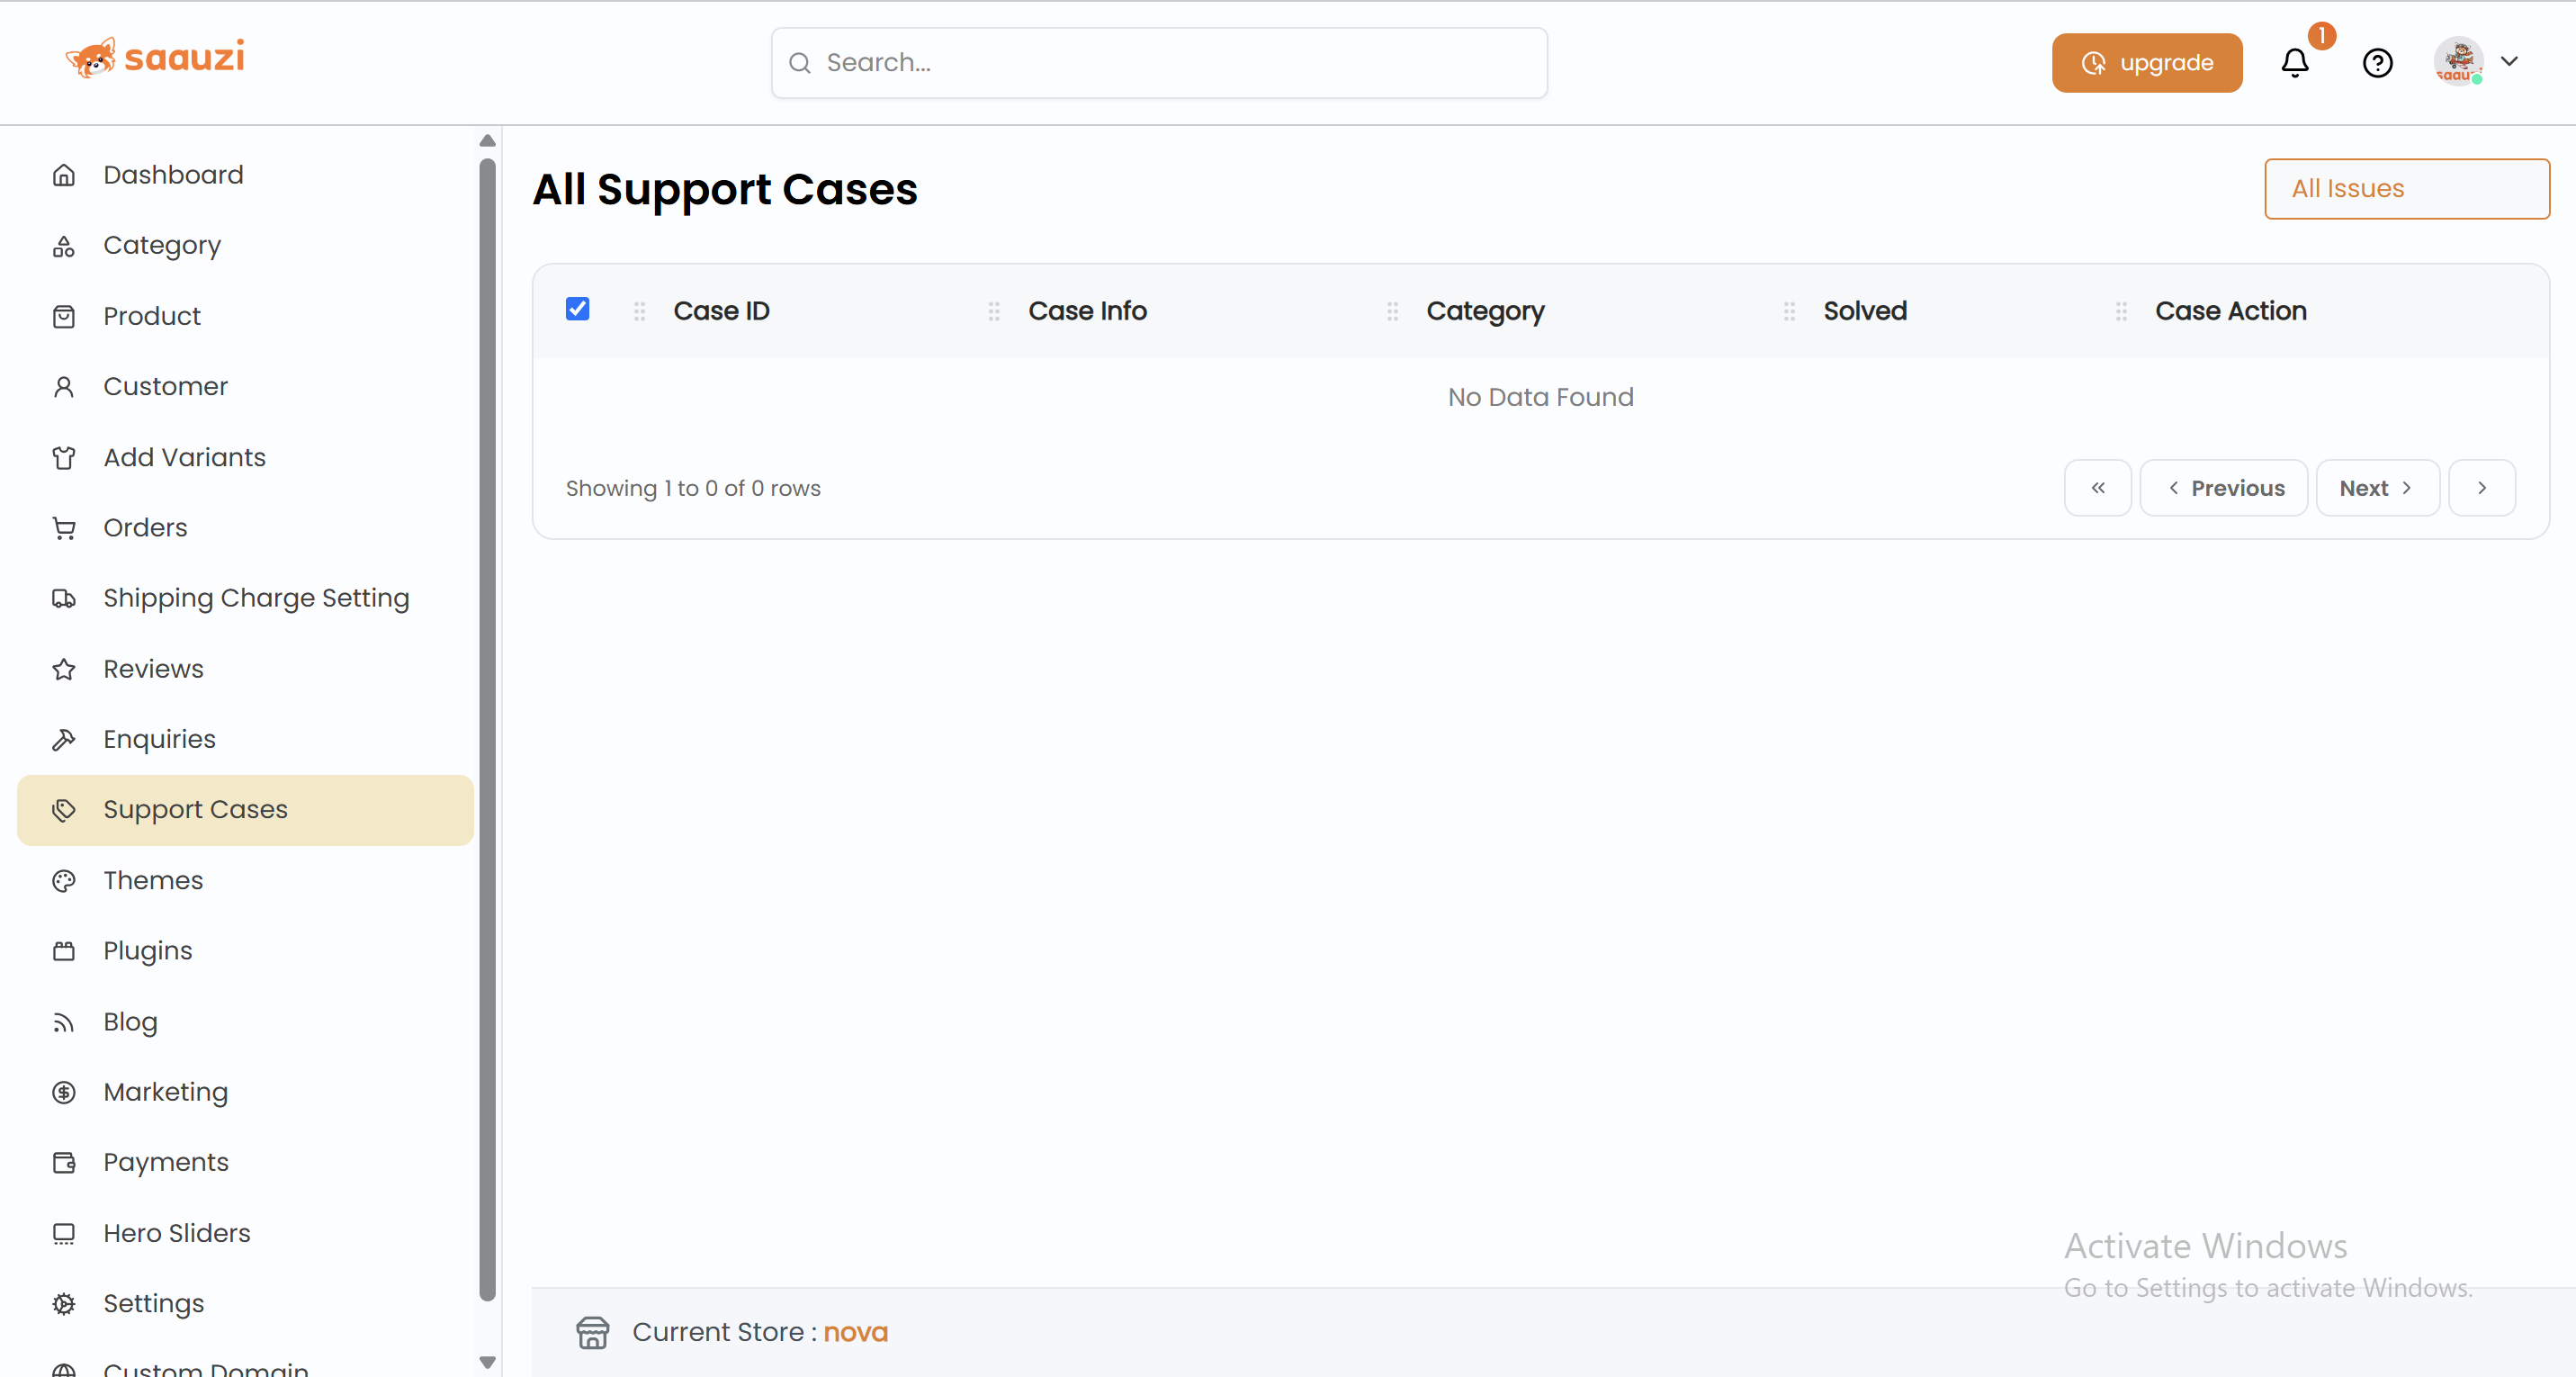
Step 11: Support Cases
- Customers create support cases via their dashboard.
- Reply from Launchpad; track conversation in the case timeline.
- Mark Resolved when issues are solved.
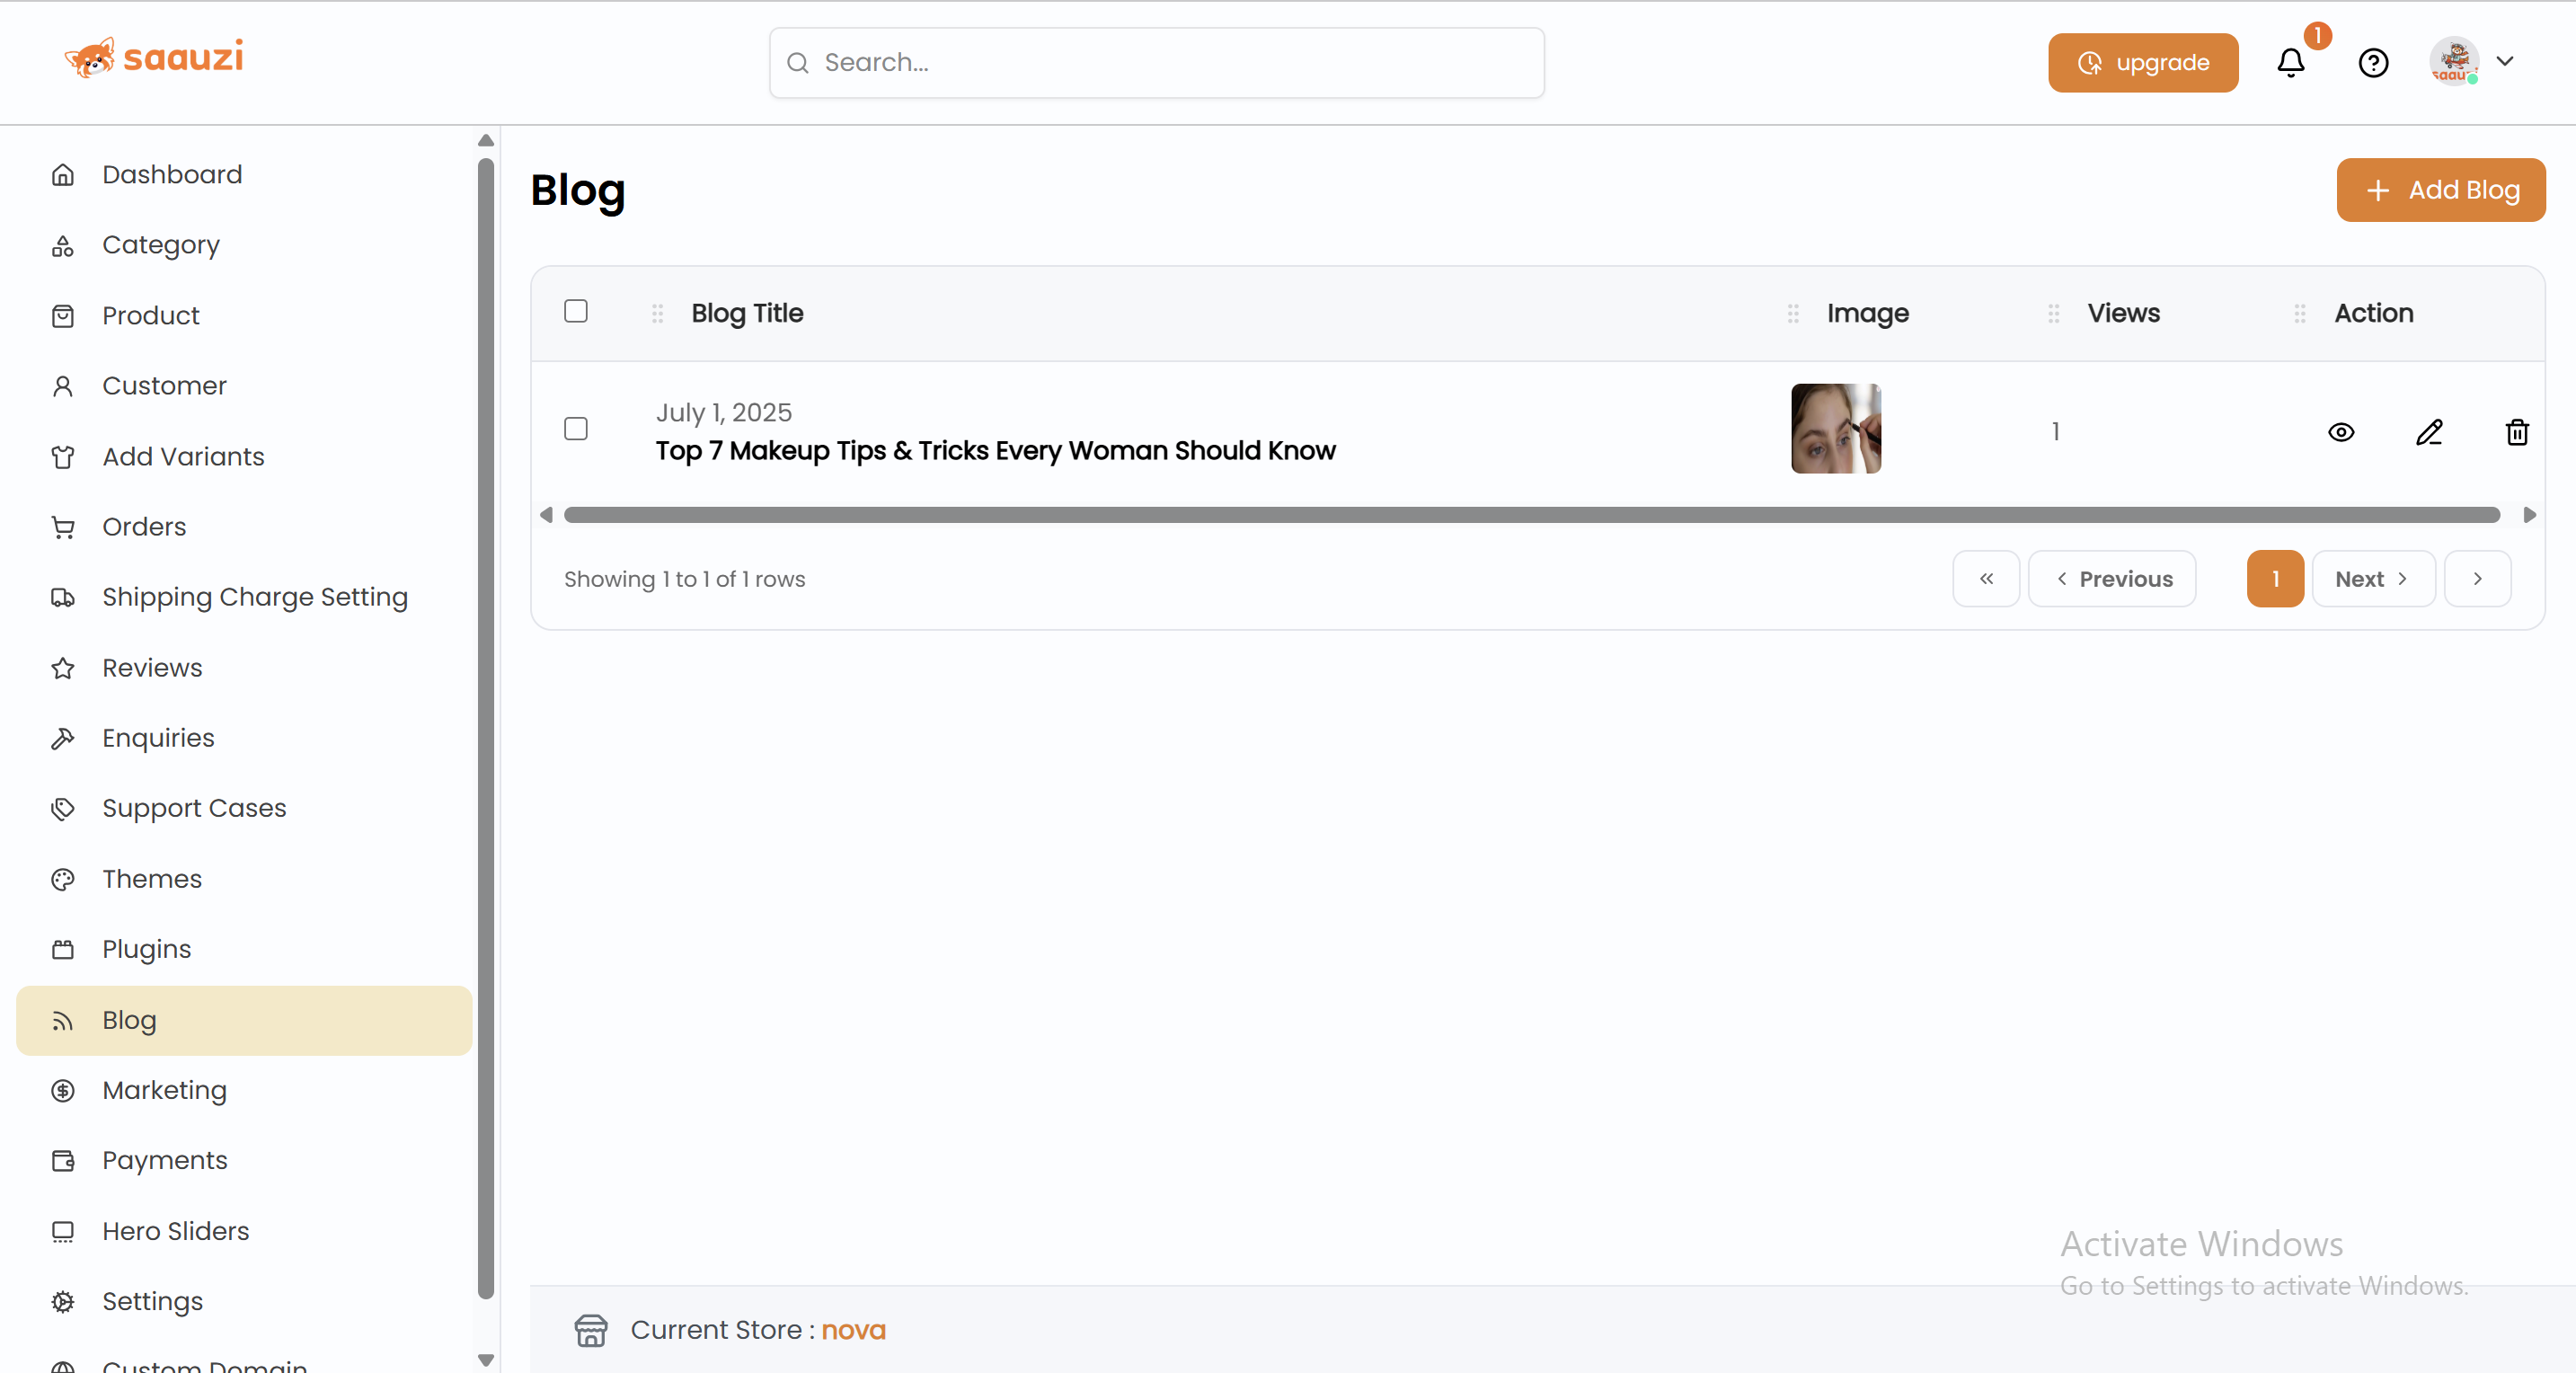
Step 12: Write Blogs
- Create blogs to improve SEO and attract organic traffic.
- Add Title, Author, Category, Content.
- Edit or delete anytime.

Step 13: Add Discount Coupons
- In Marketing → Discount Coupons, click Add Coupon Code.
- Enter title, code, discount %, maximum discount, minimum purchase, and expiry date.
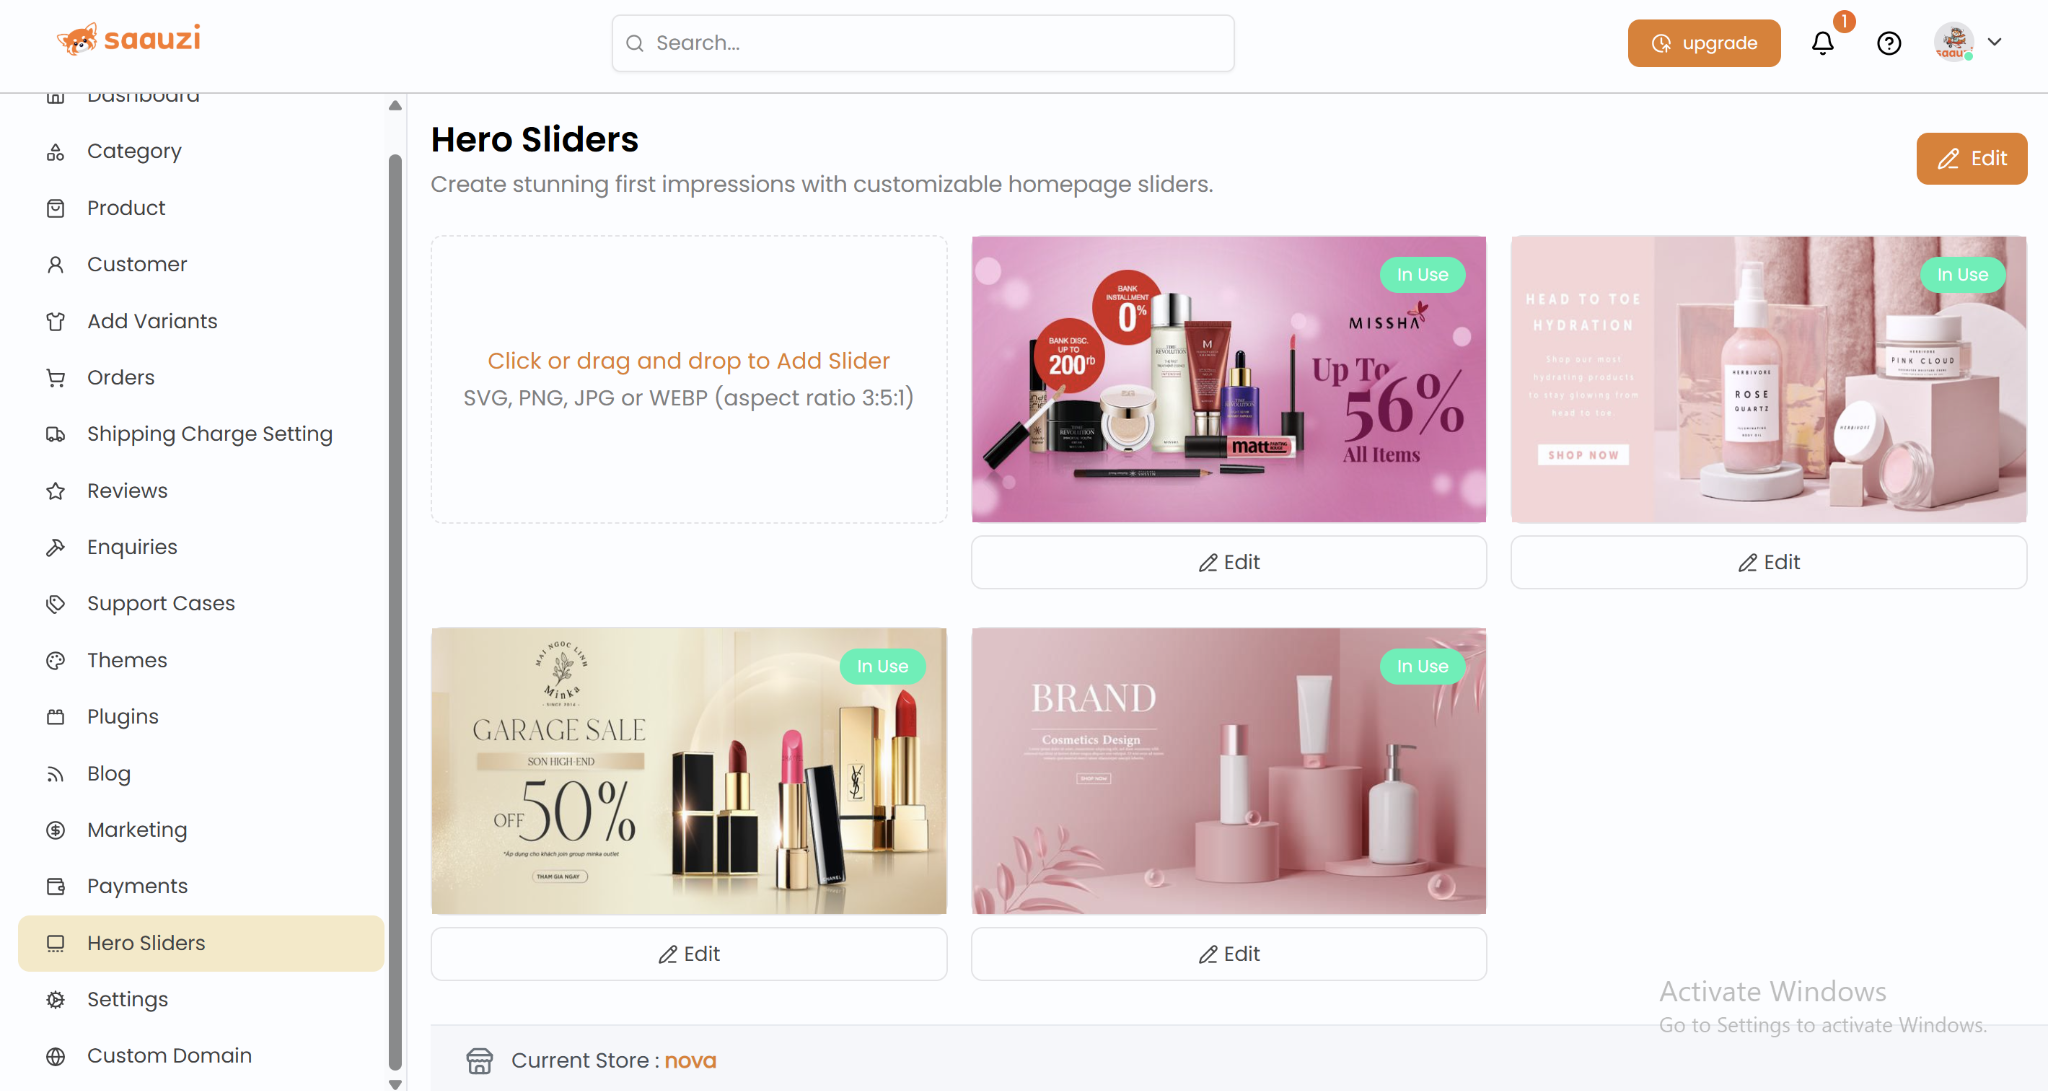
Step 14: Customize Hero Sliders
- Upload banner images with title, subtitle, description, and action link.
- Toggle slider status to show/hide promotions.
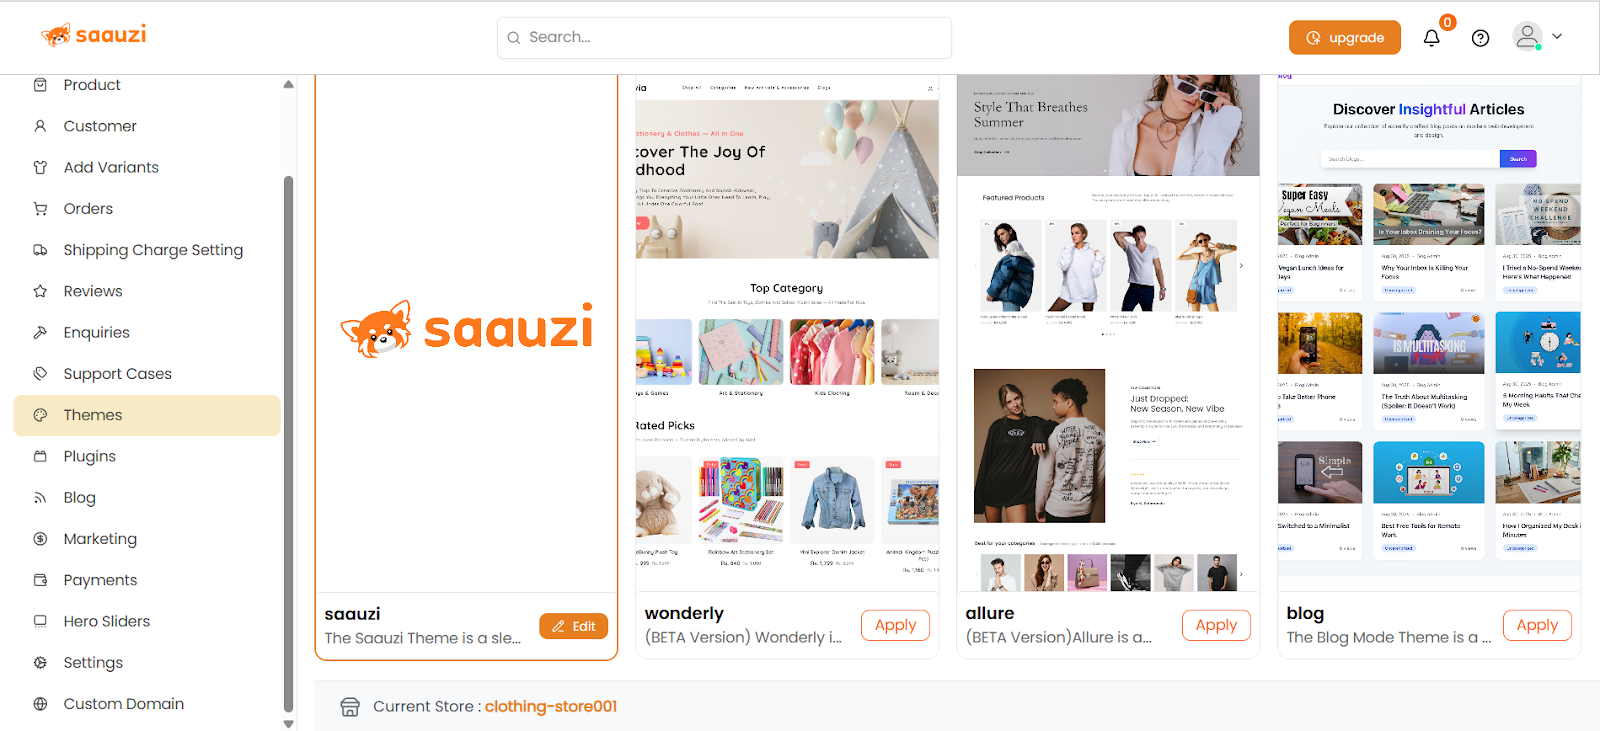
Step 15: Apply Themes
- Choose from pre-designed themes: Saauzi, Wonderly, Allure, Blog Theme.
- Customize colors, logo, favicon, and banners.
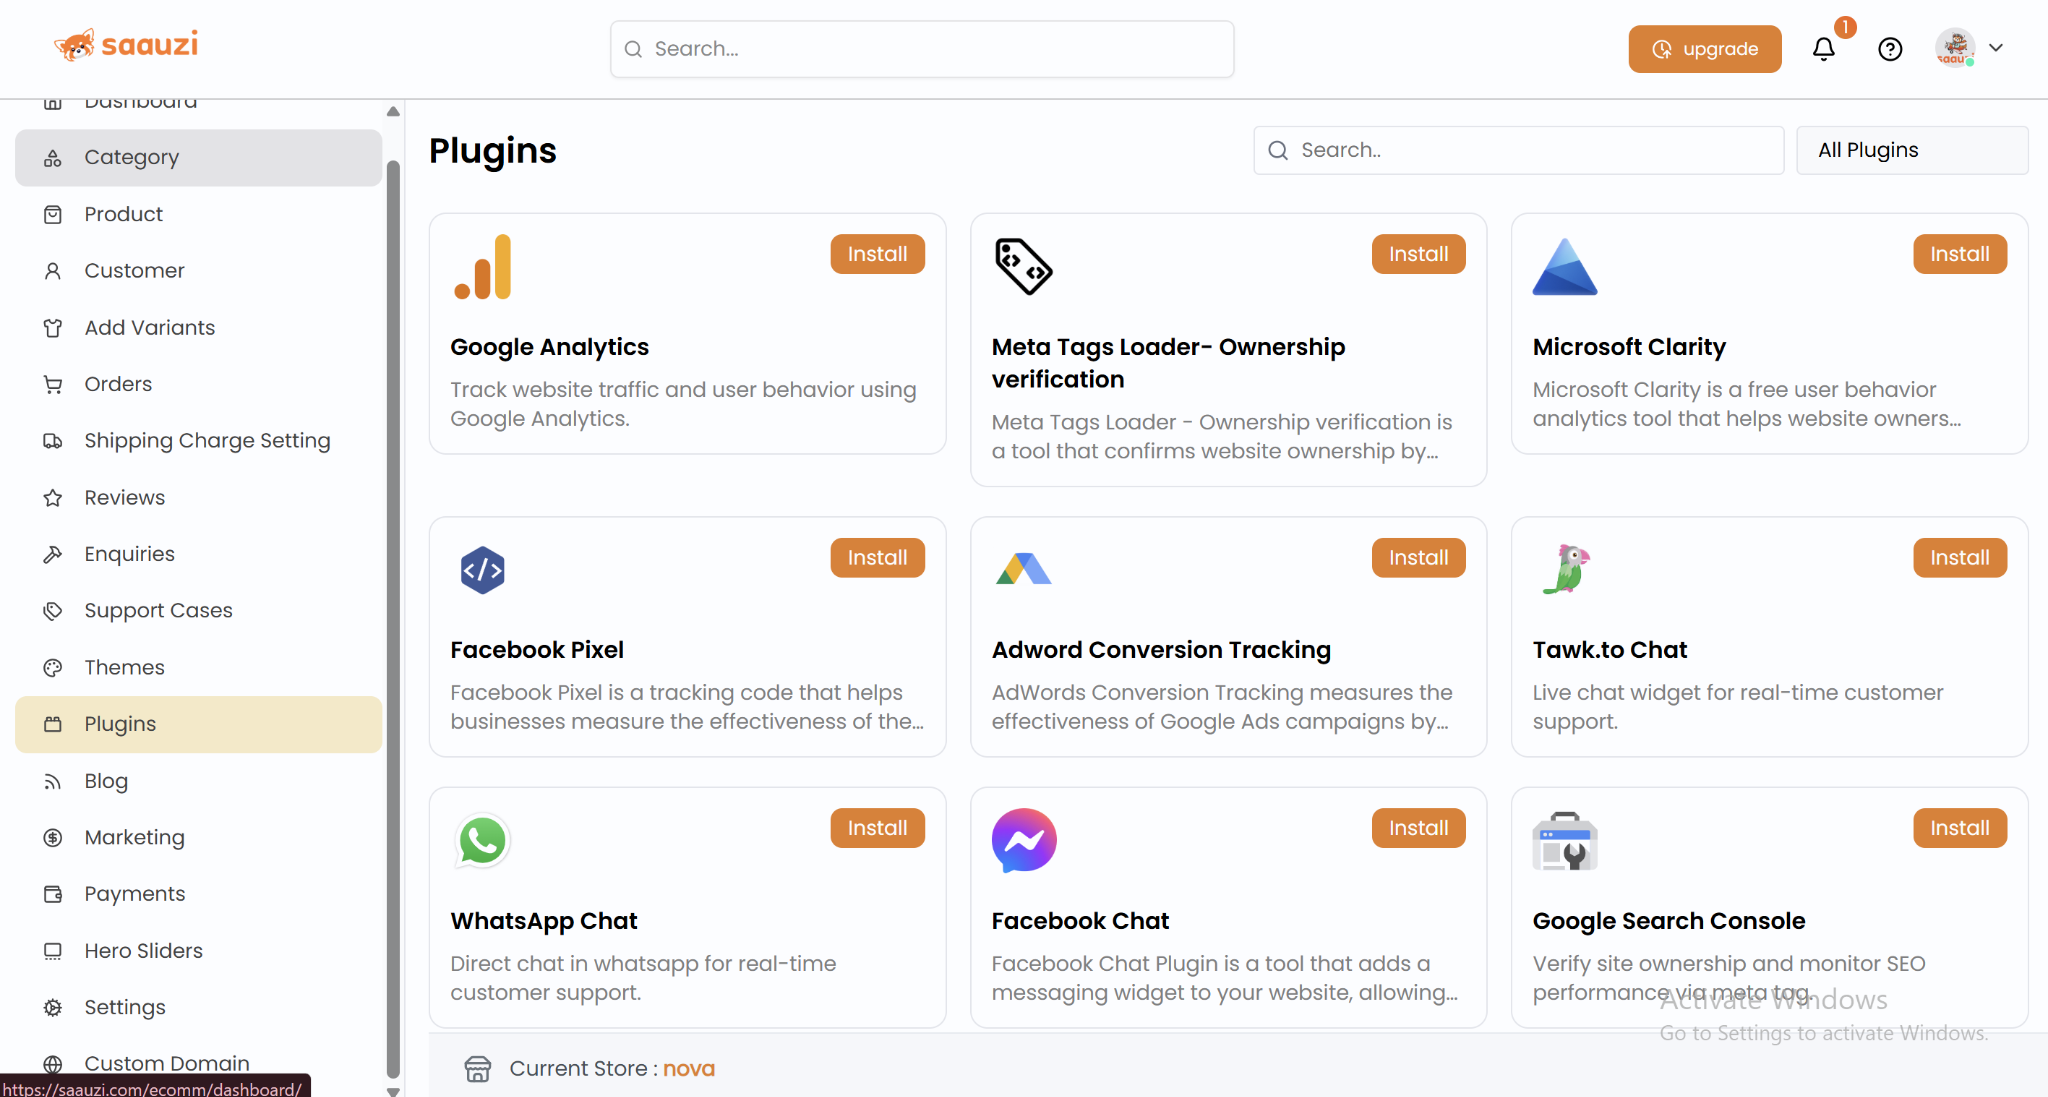
Step 16: Manage Plugins
- Integrate third-party apps like Nepal Can Move using API keys.
- Orders sync automatically for seamless delivery tracking.
Step 17: Add Staff Members
- Go to Staff Management → Add staff.
- Assign role: Admin, Customer Care, Account, or General.
- Set permissions to control access.
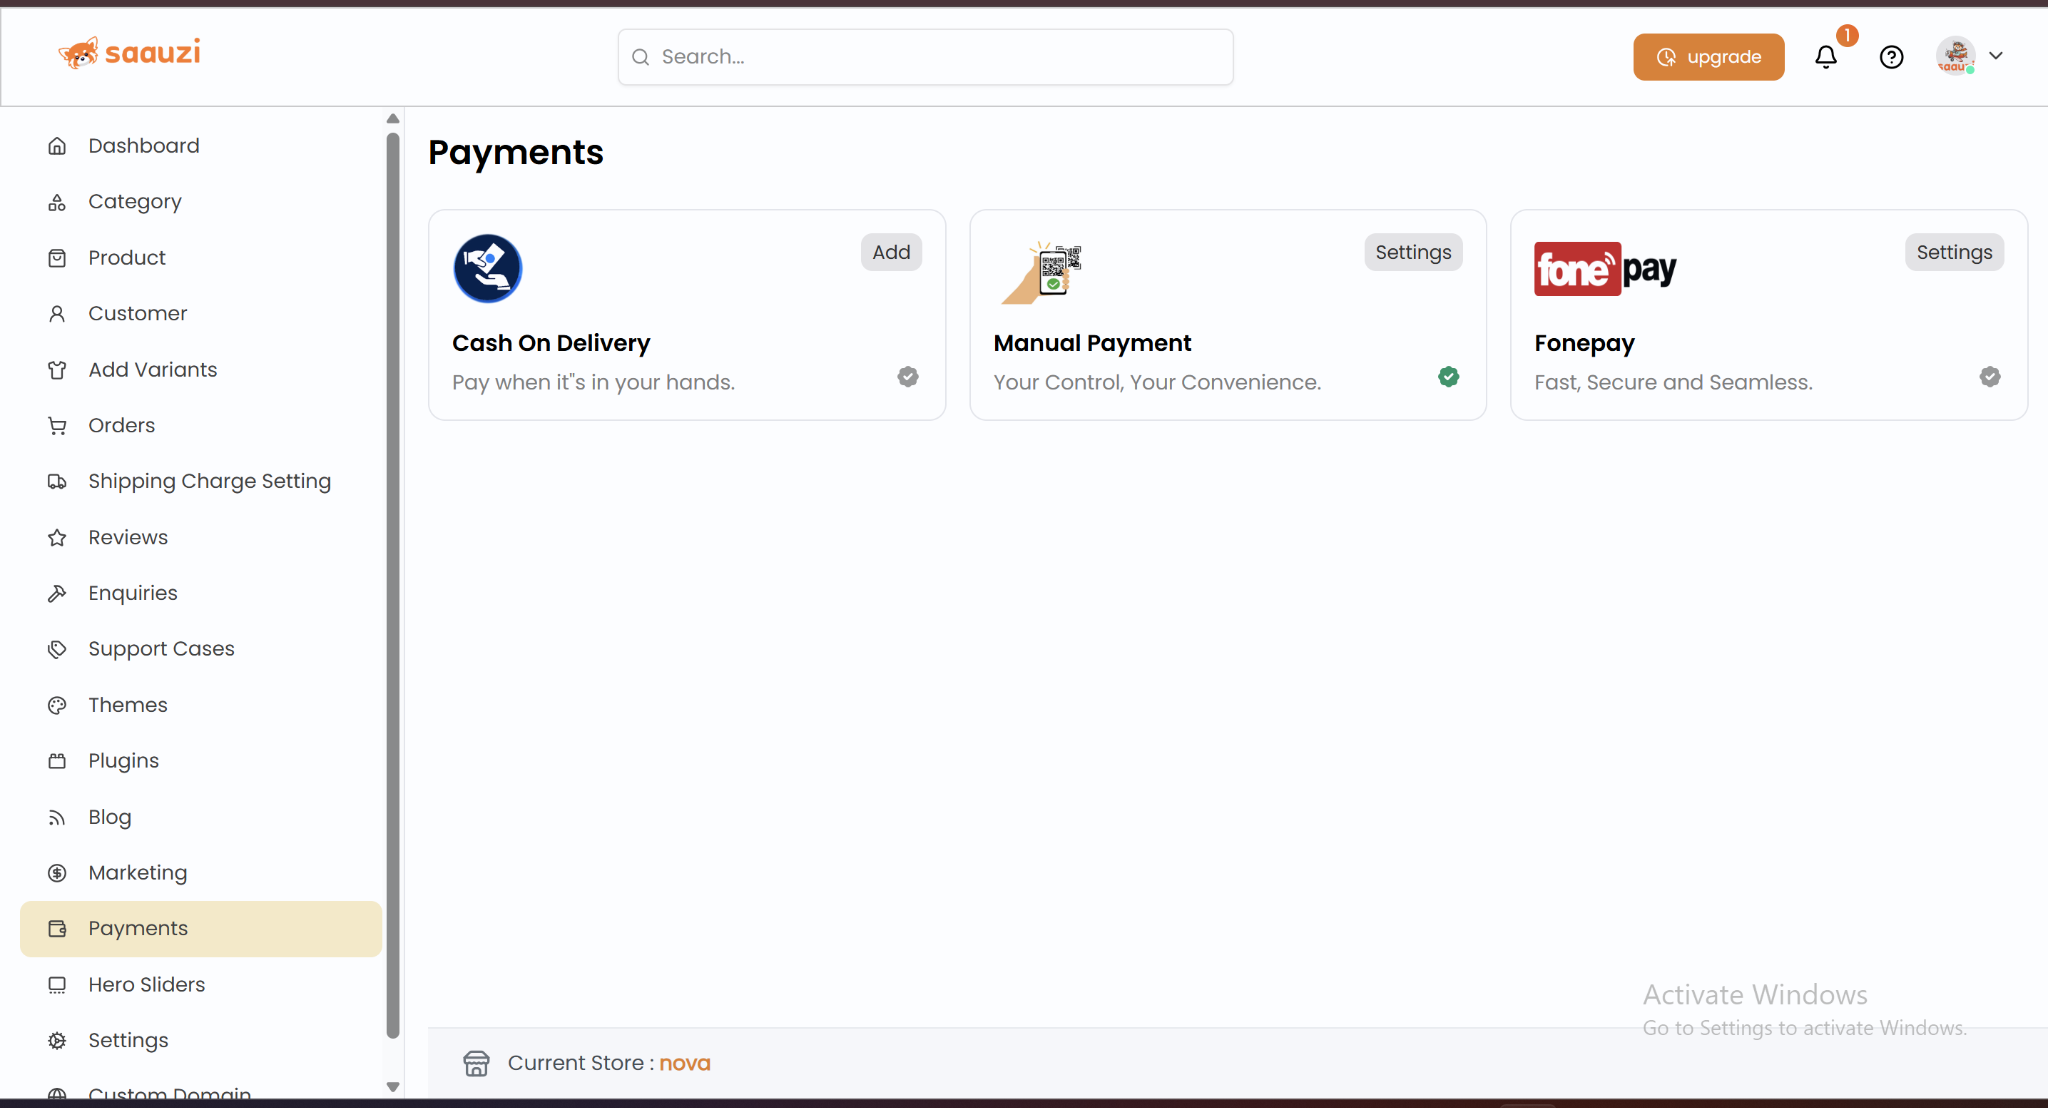
Step 18: Enable Payment Methods
- Options: Cash on Delivery, Manual Payment, Fonepay.
- Upload QR codes for manual payment; configure Fonepay credentials.
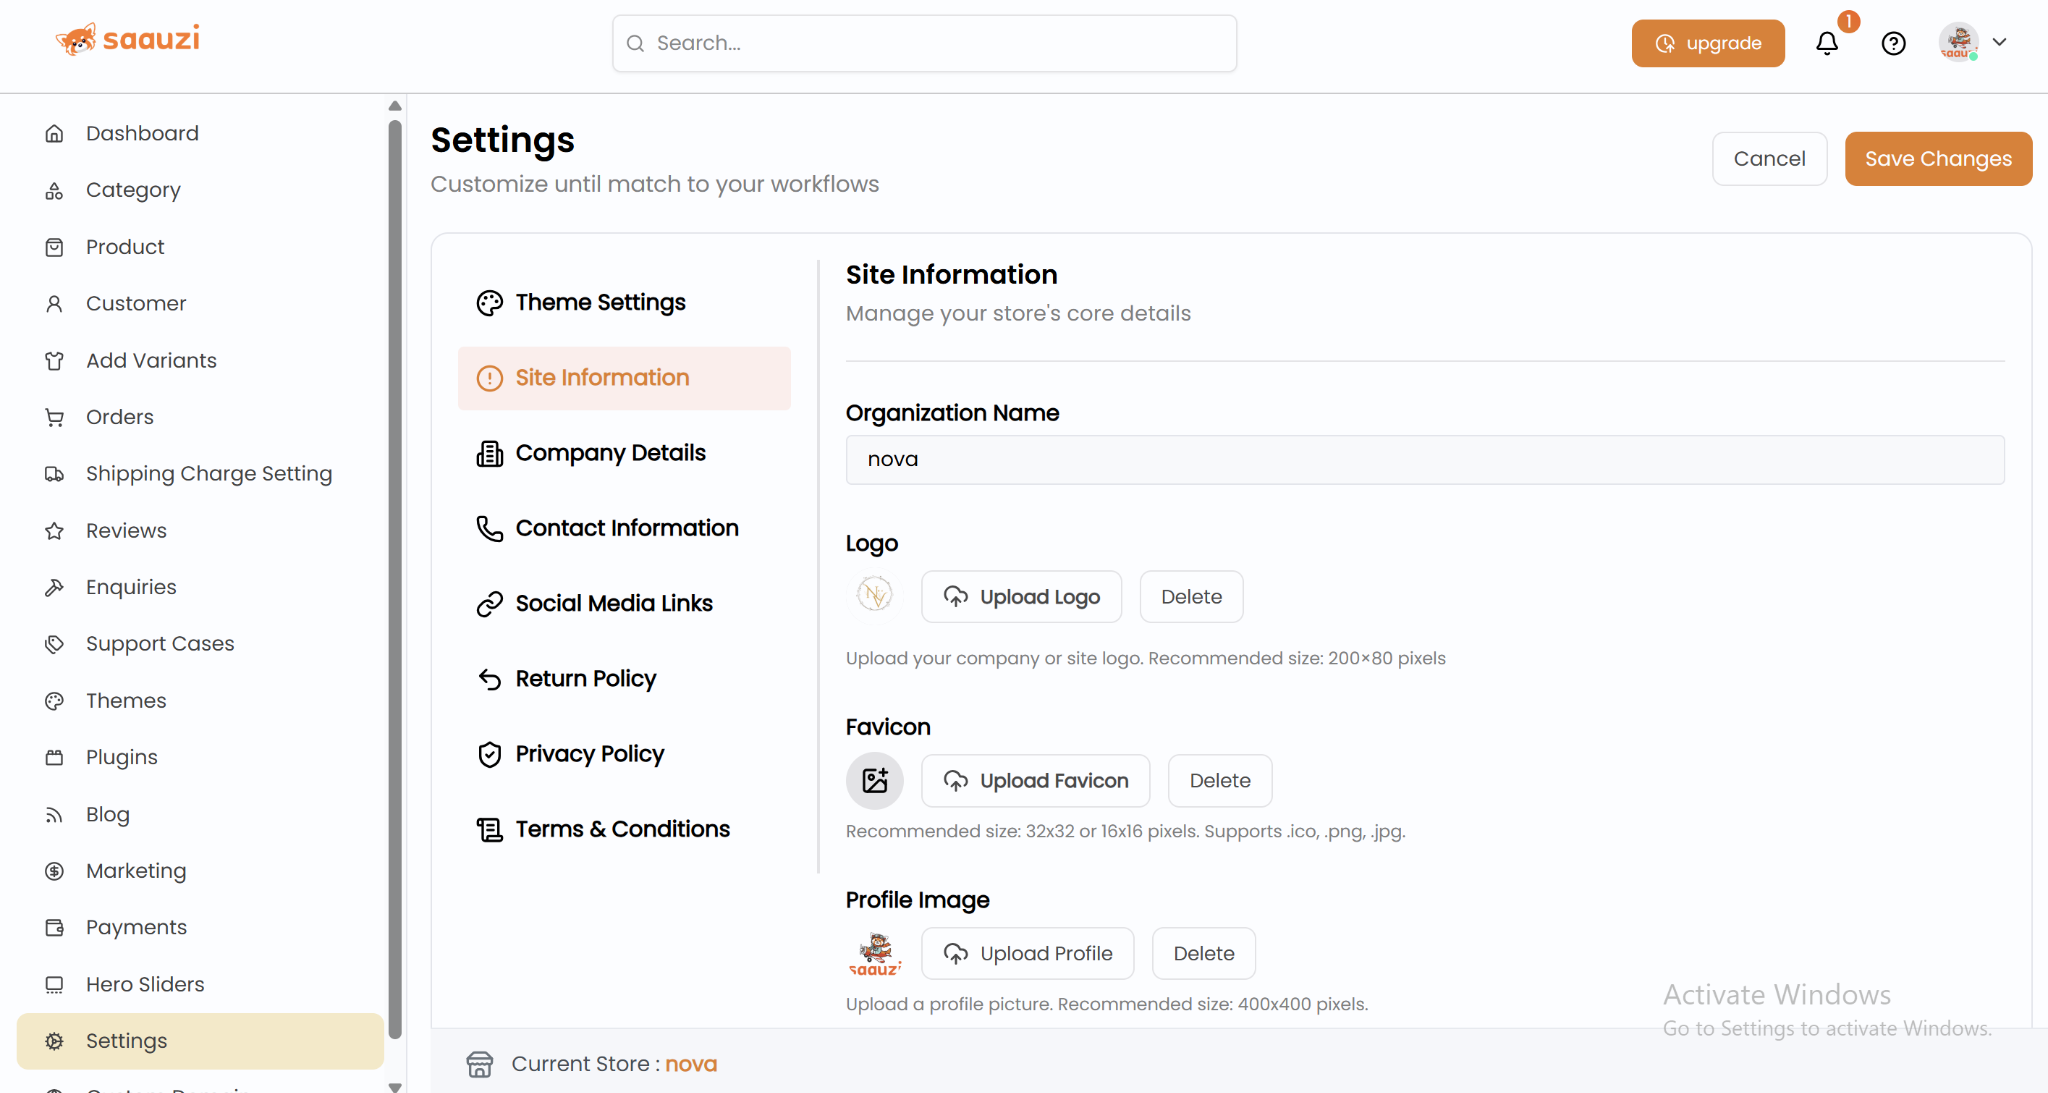
Step 19: Update Site Settings
- Customize store name, contact info, social media links.
- Add Privacy Policy, Return Policy, Terms & Conditions for professionalism.
- Enable Under Maintenance mode if needed.
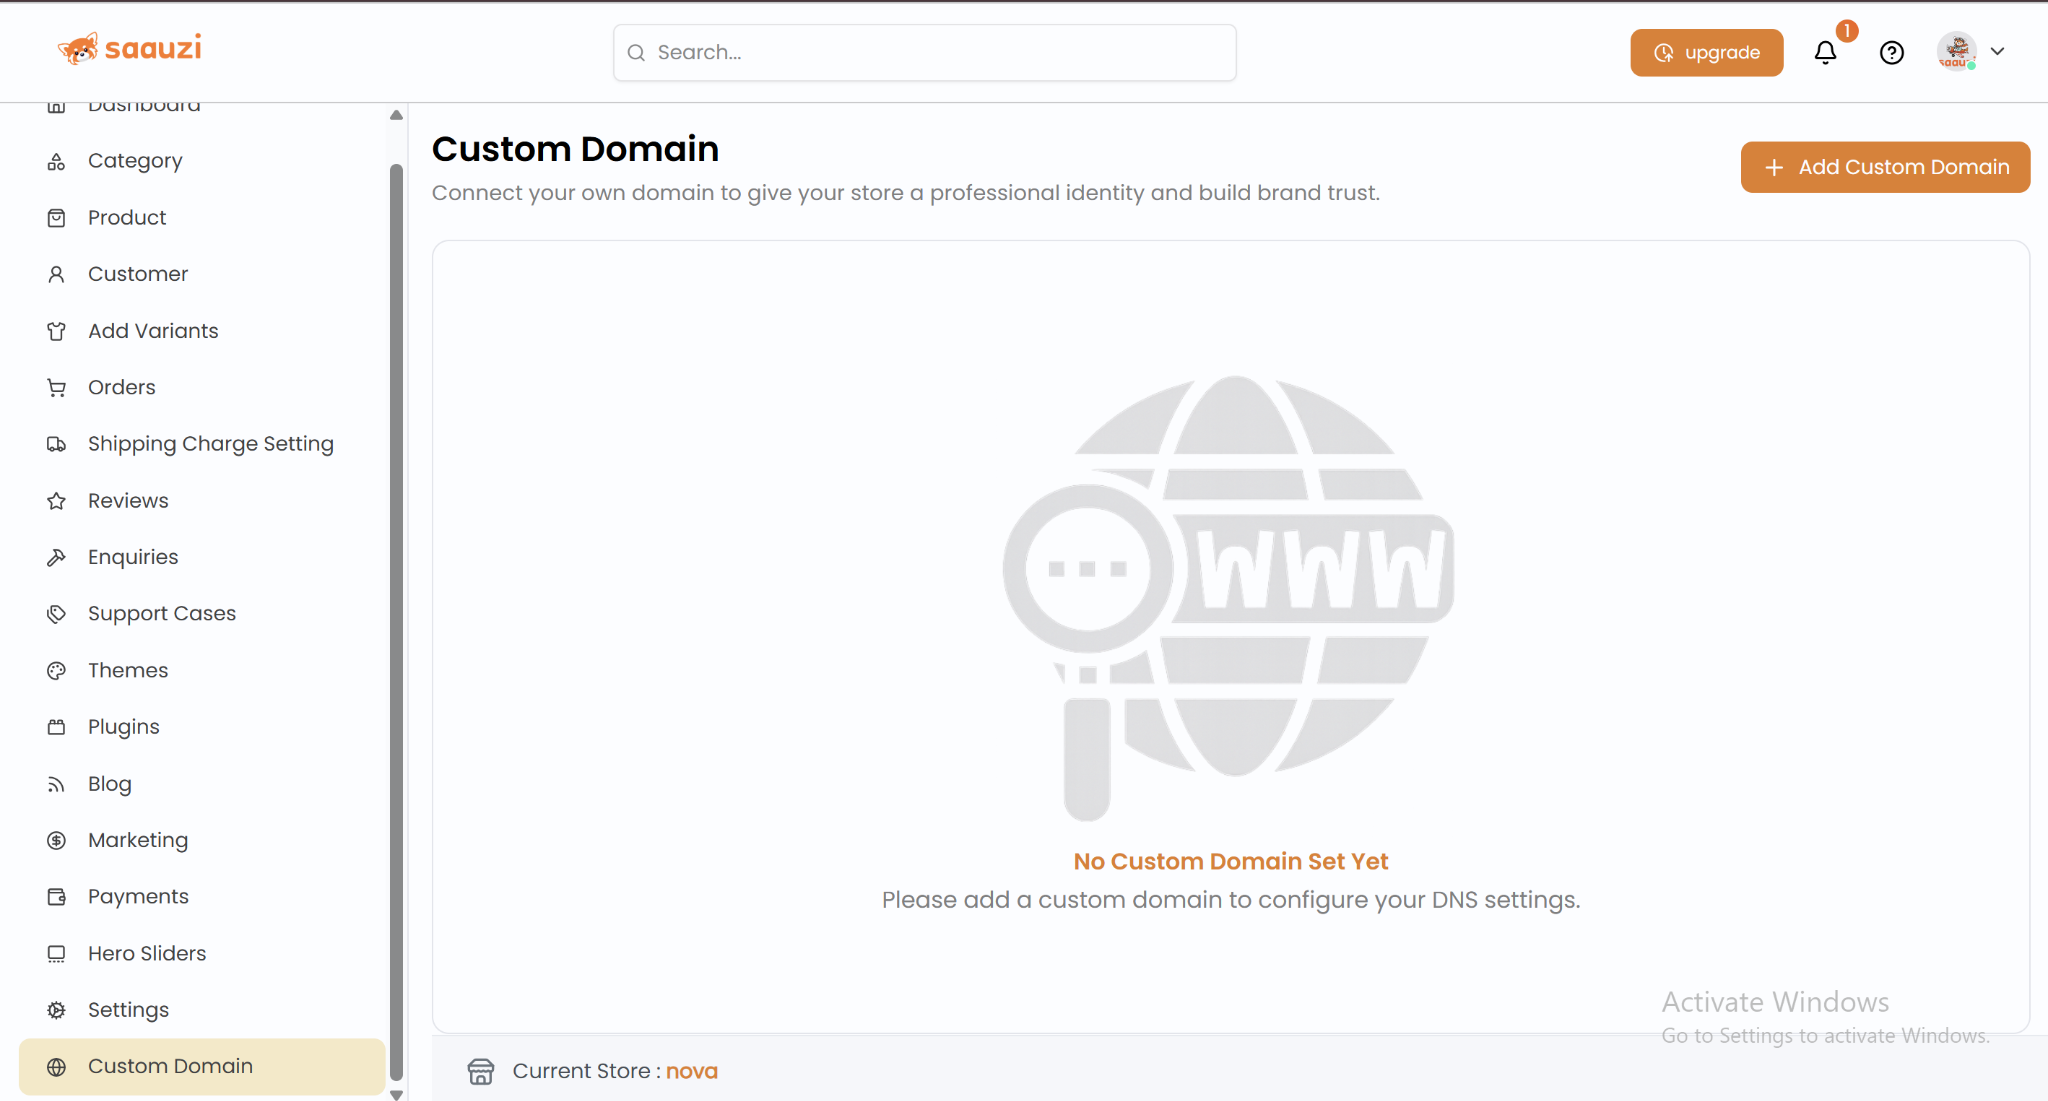
Step 20: Connect a Custom Domain
- In Custom Domain Settings, enter your domain and follow DNS instructions.
- Customers can now access your store via your branded domain.
Conclusion
By following these steps, anyone in Nepal can launch a professional, fully functional online store with Saauzi. From products and orders to marketing, payments, and support, Saauzi provides all tools in one place, making online selling simple, fast, and scalable.